Seating
Now for the fun part - it's time to start deciding who will sit where!
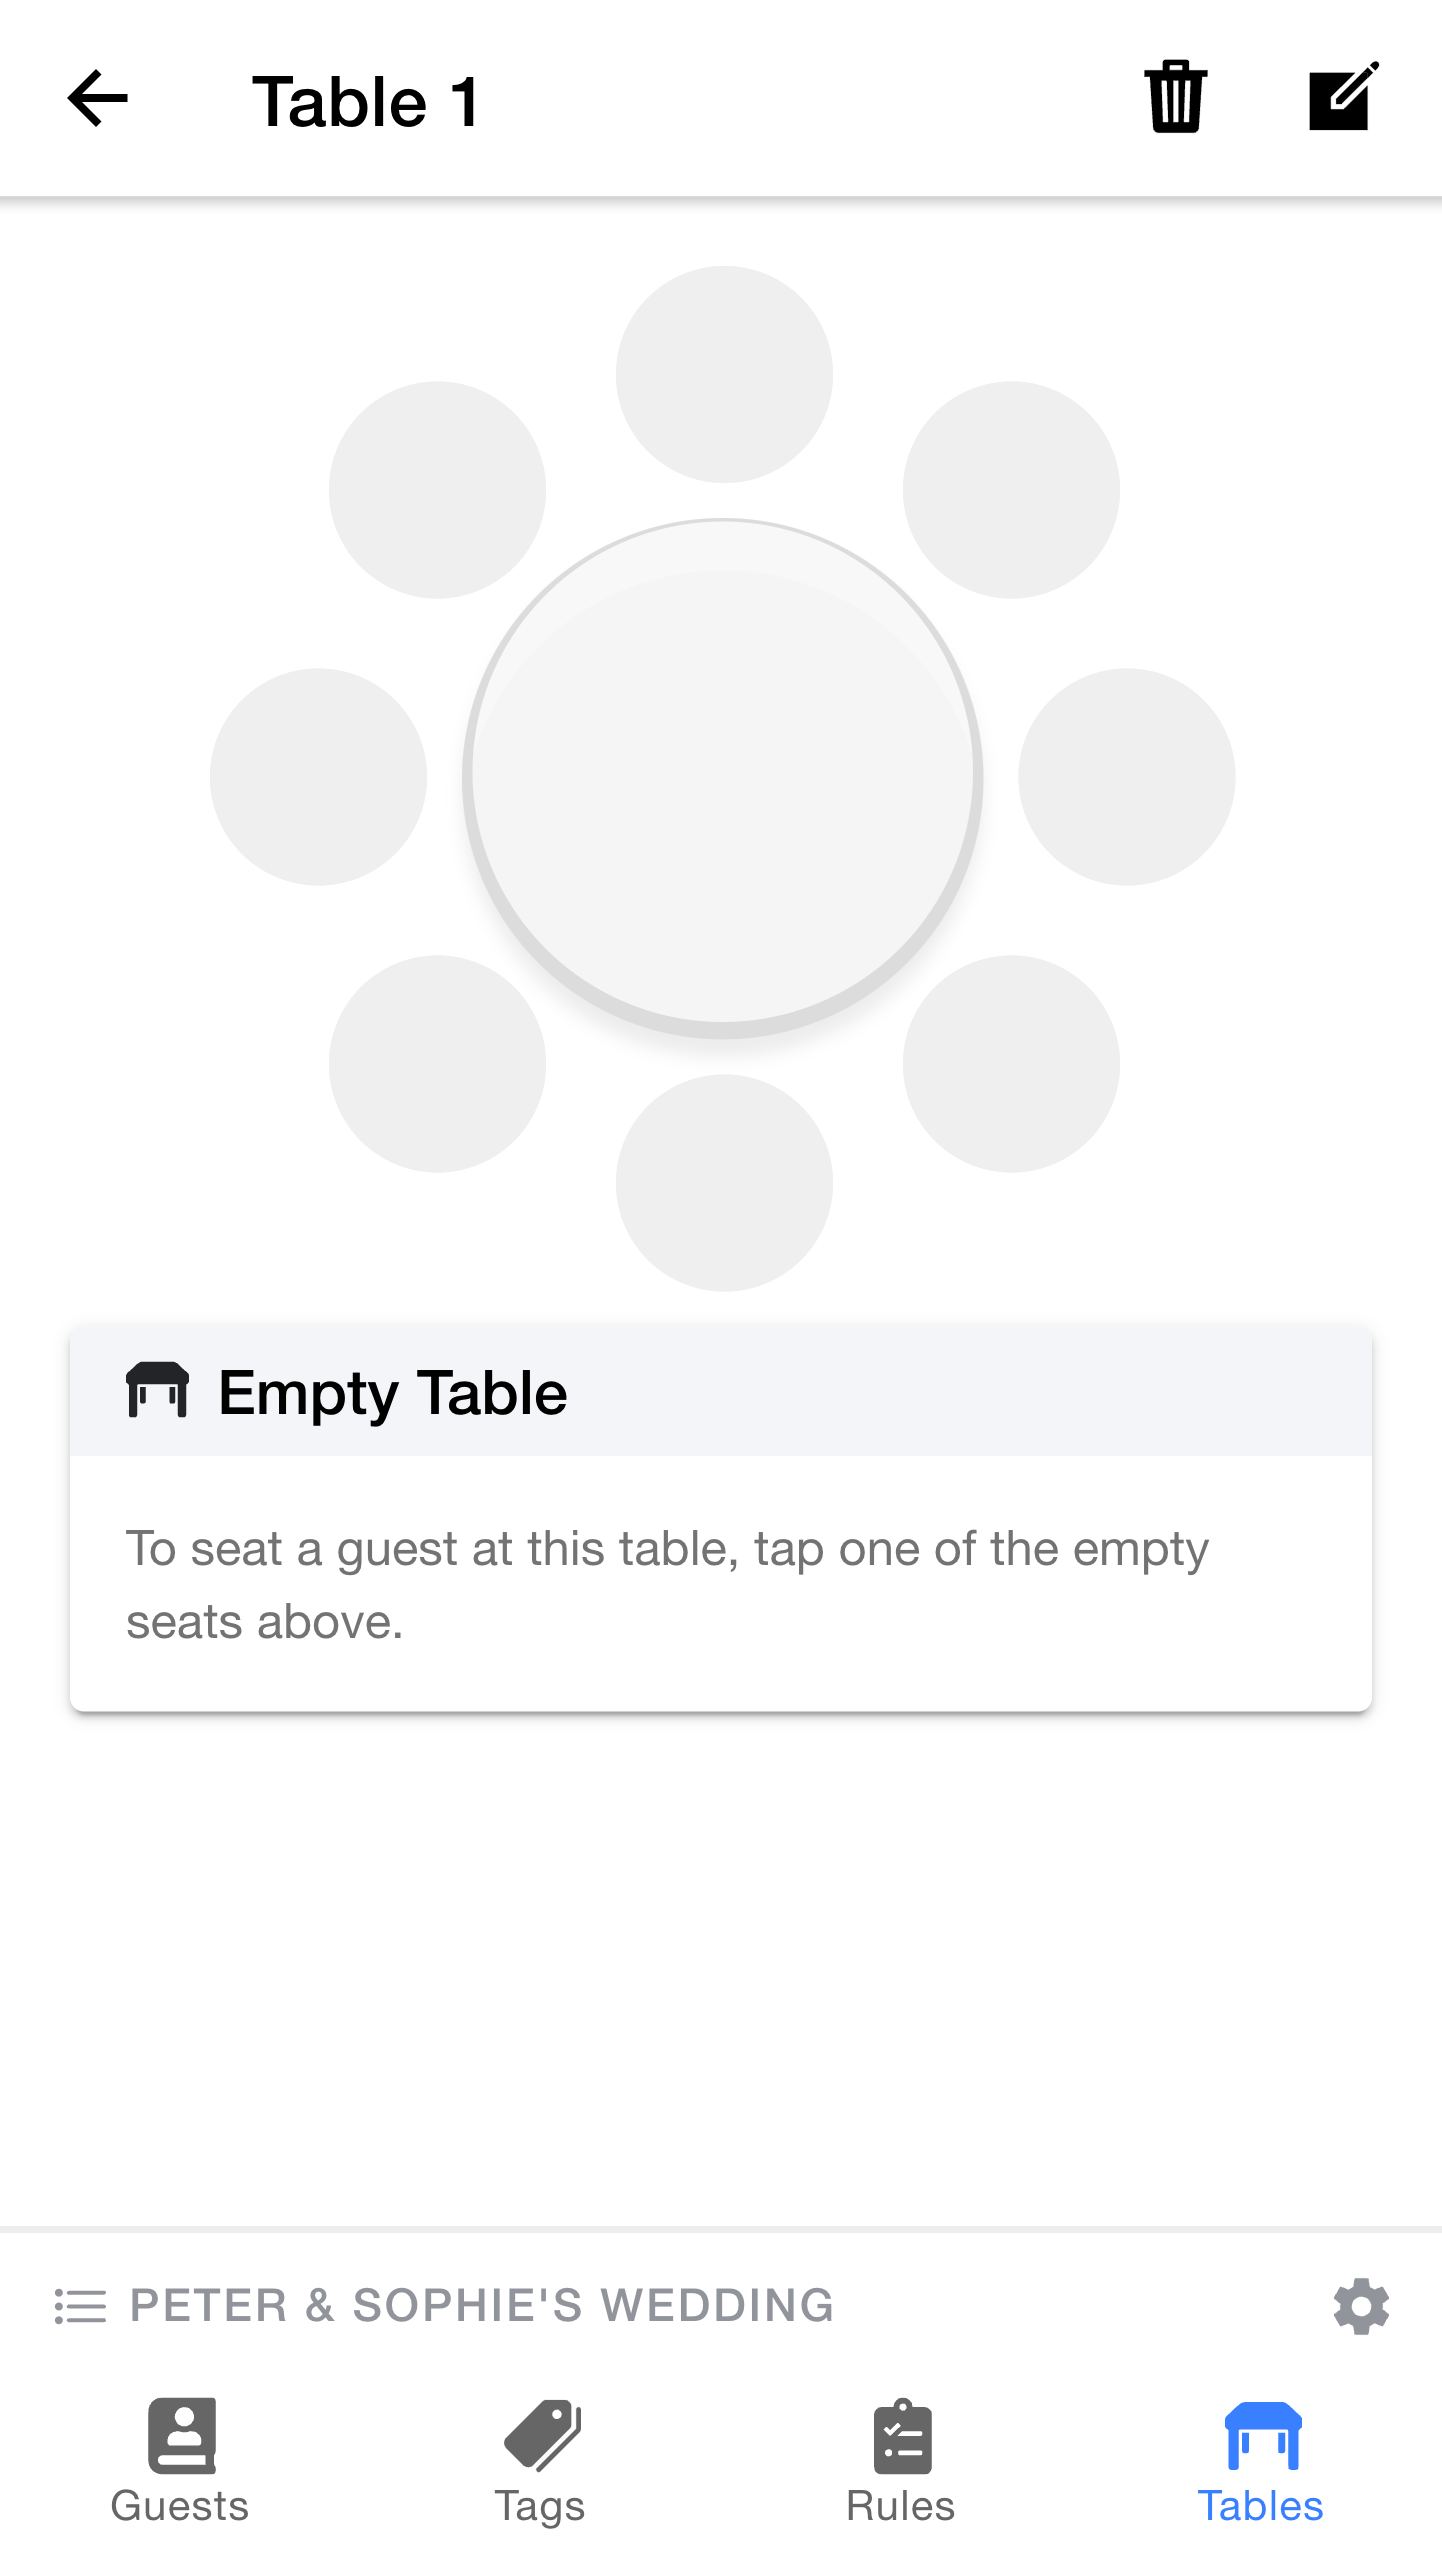
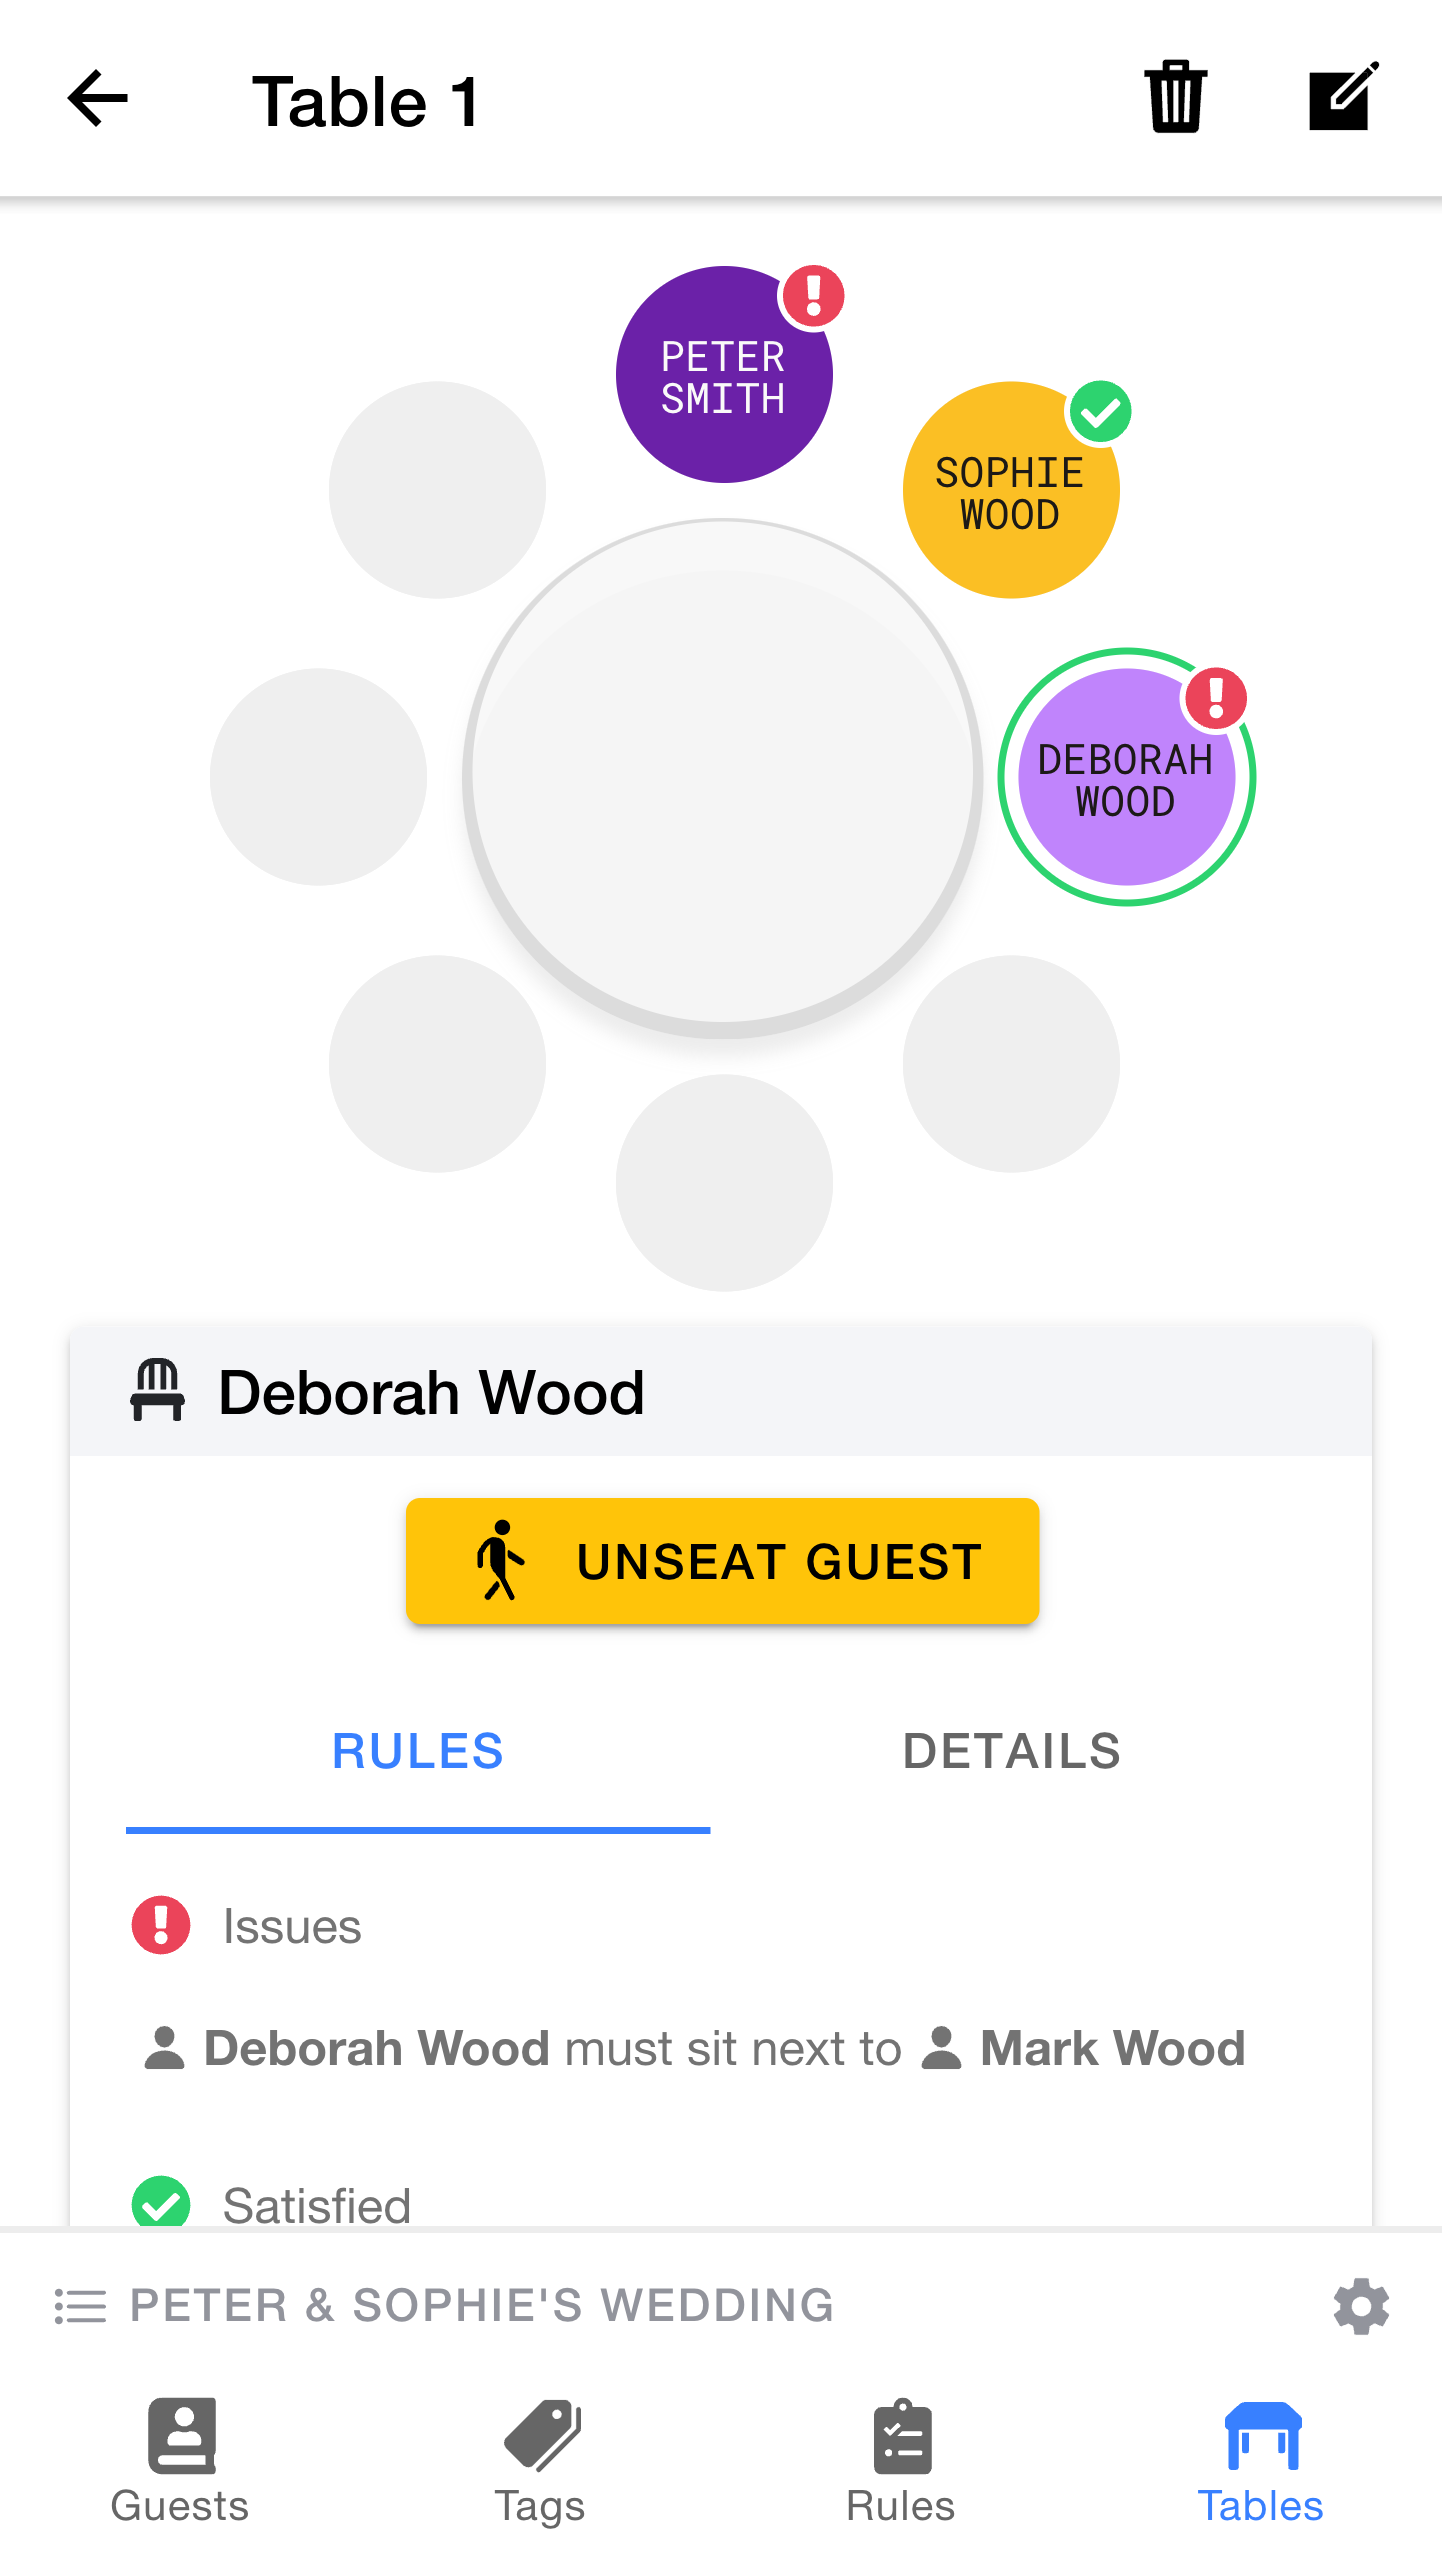
This shows the seating arrangement for that table. At the moment, the table is unoccupied.
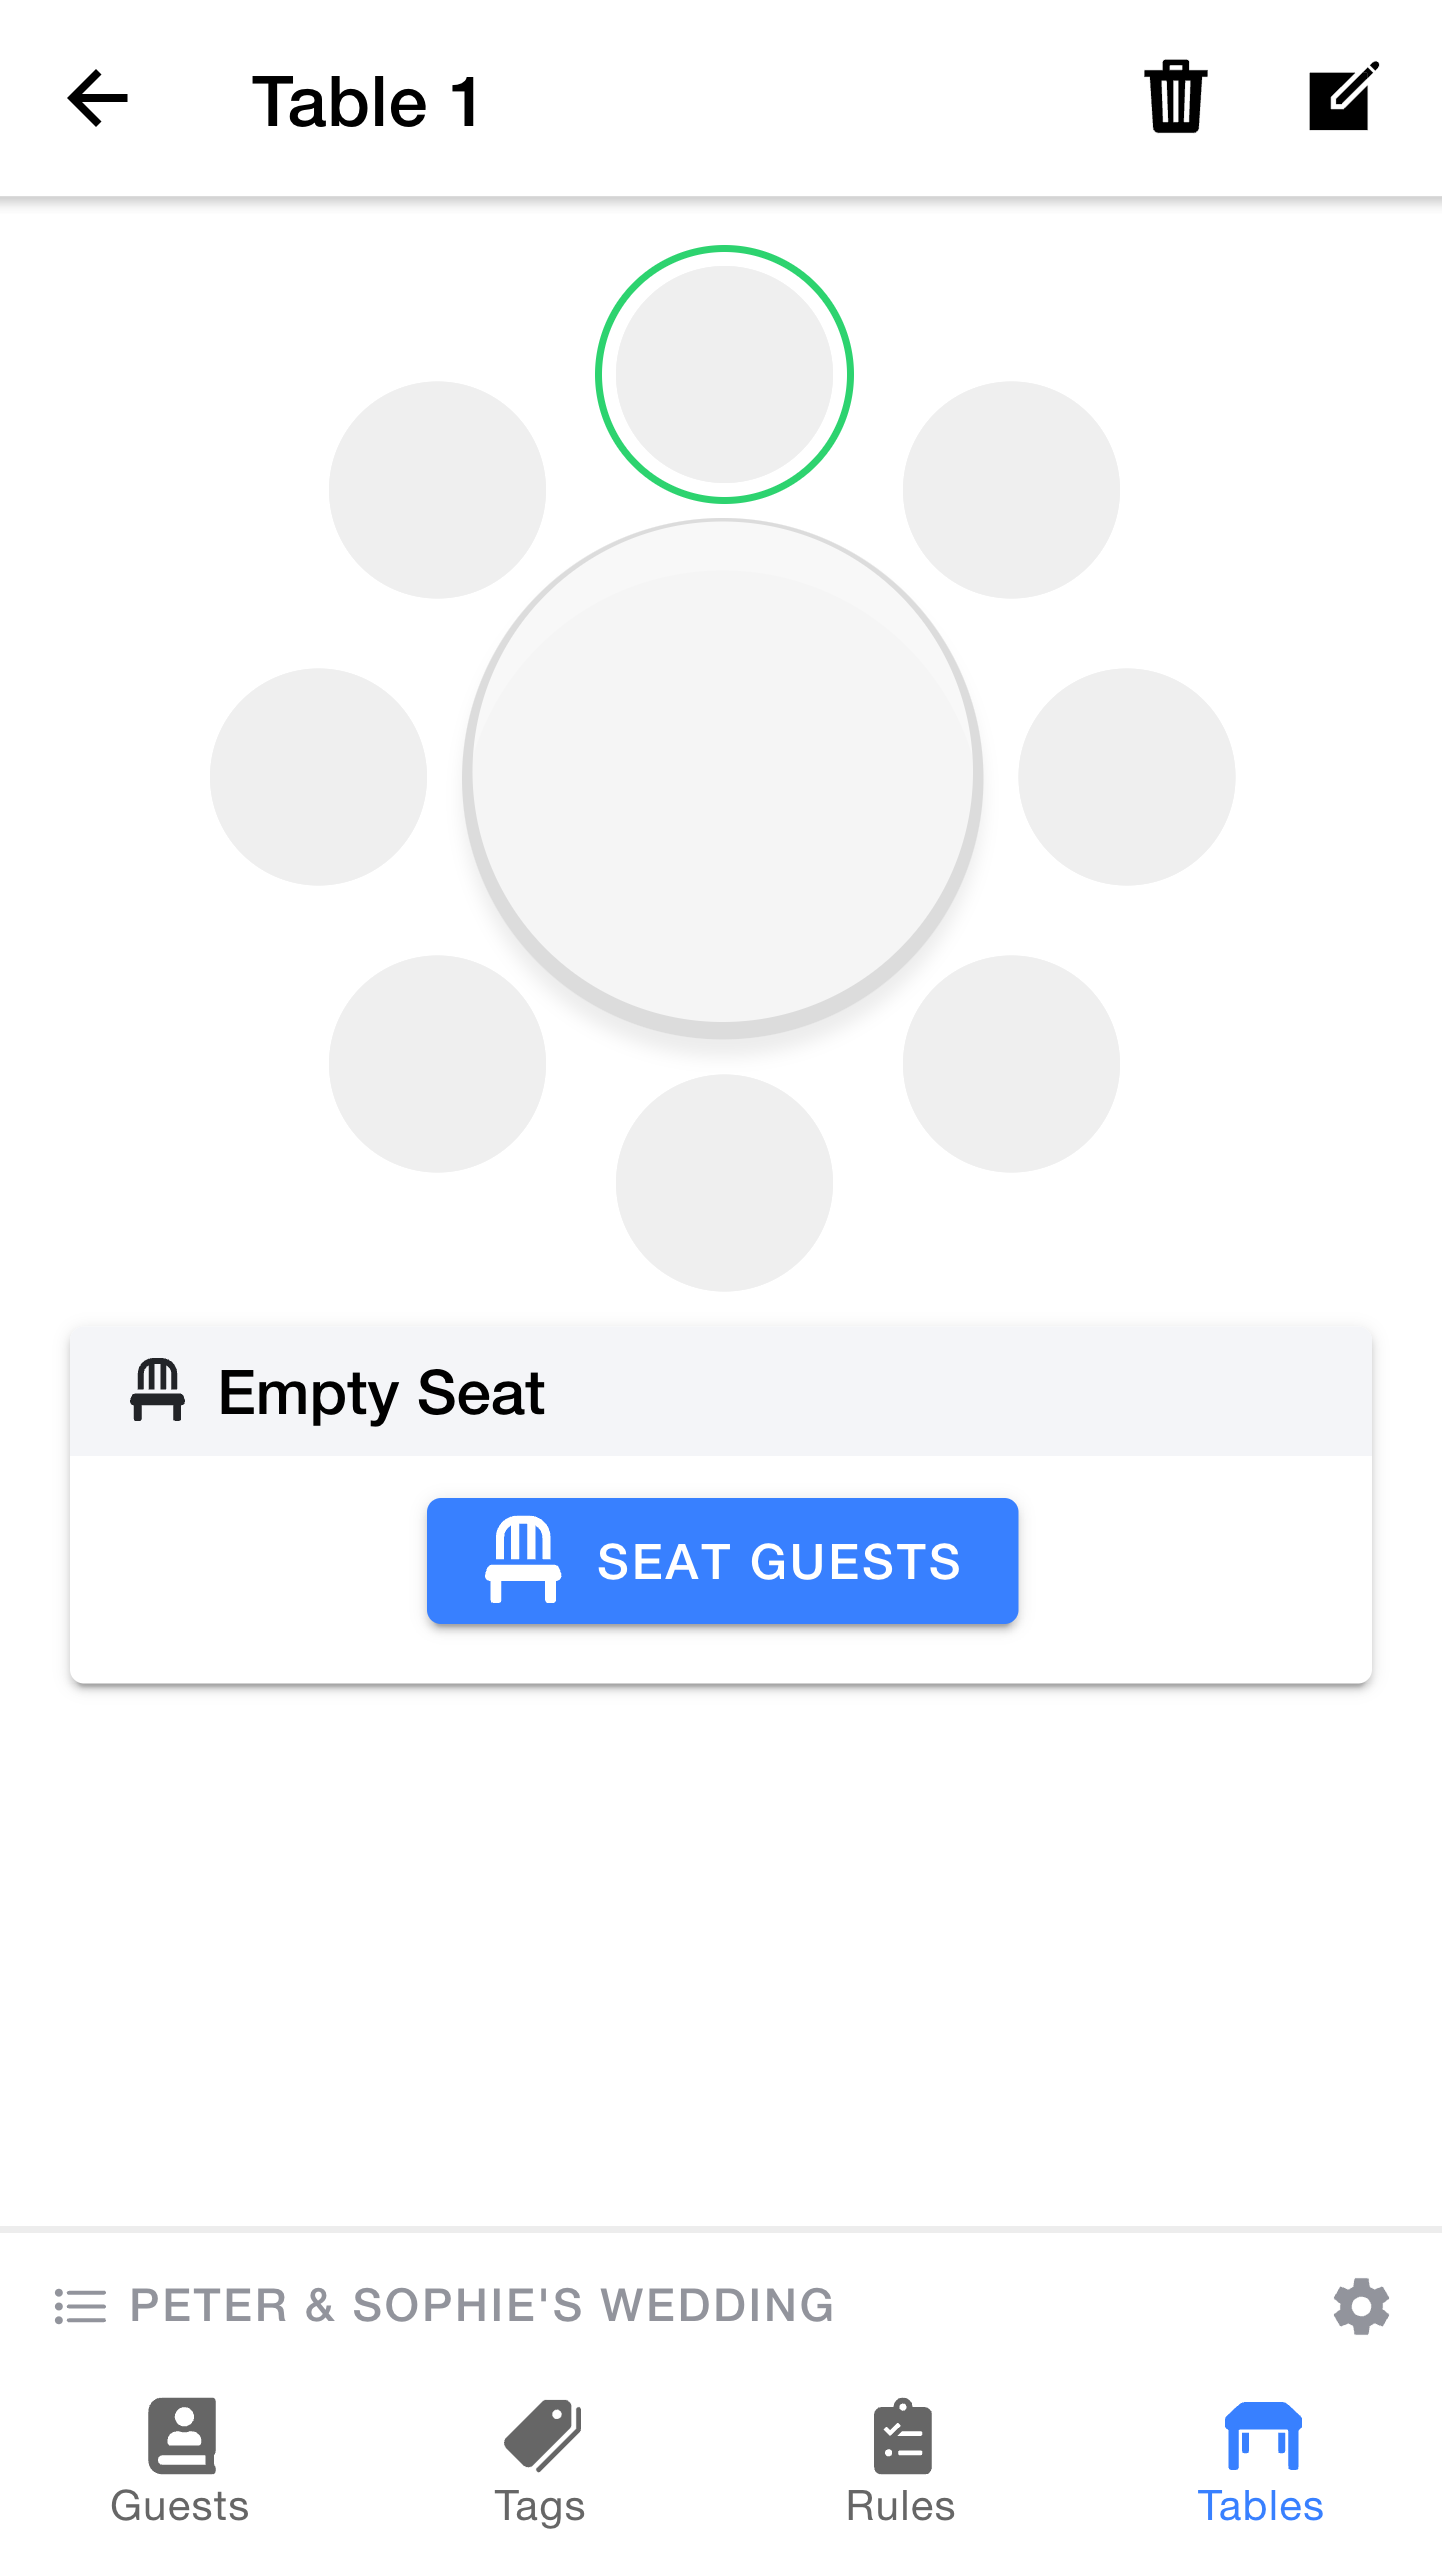
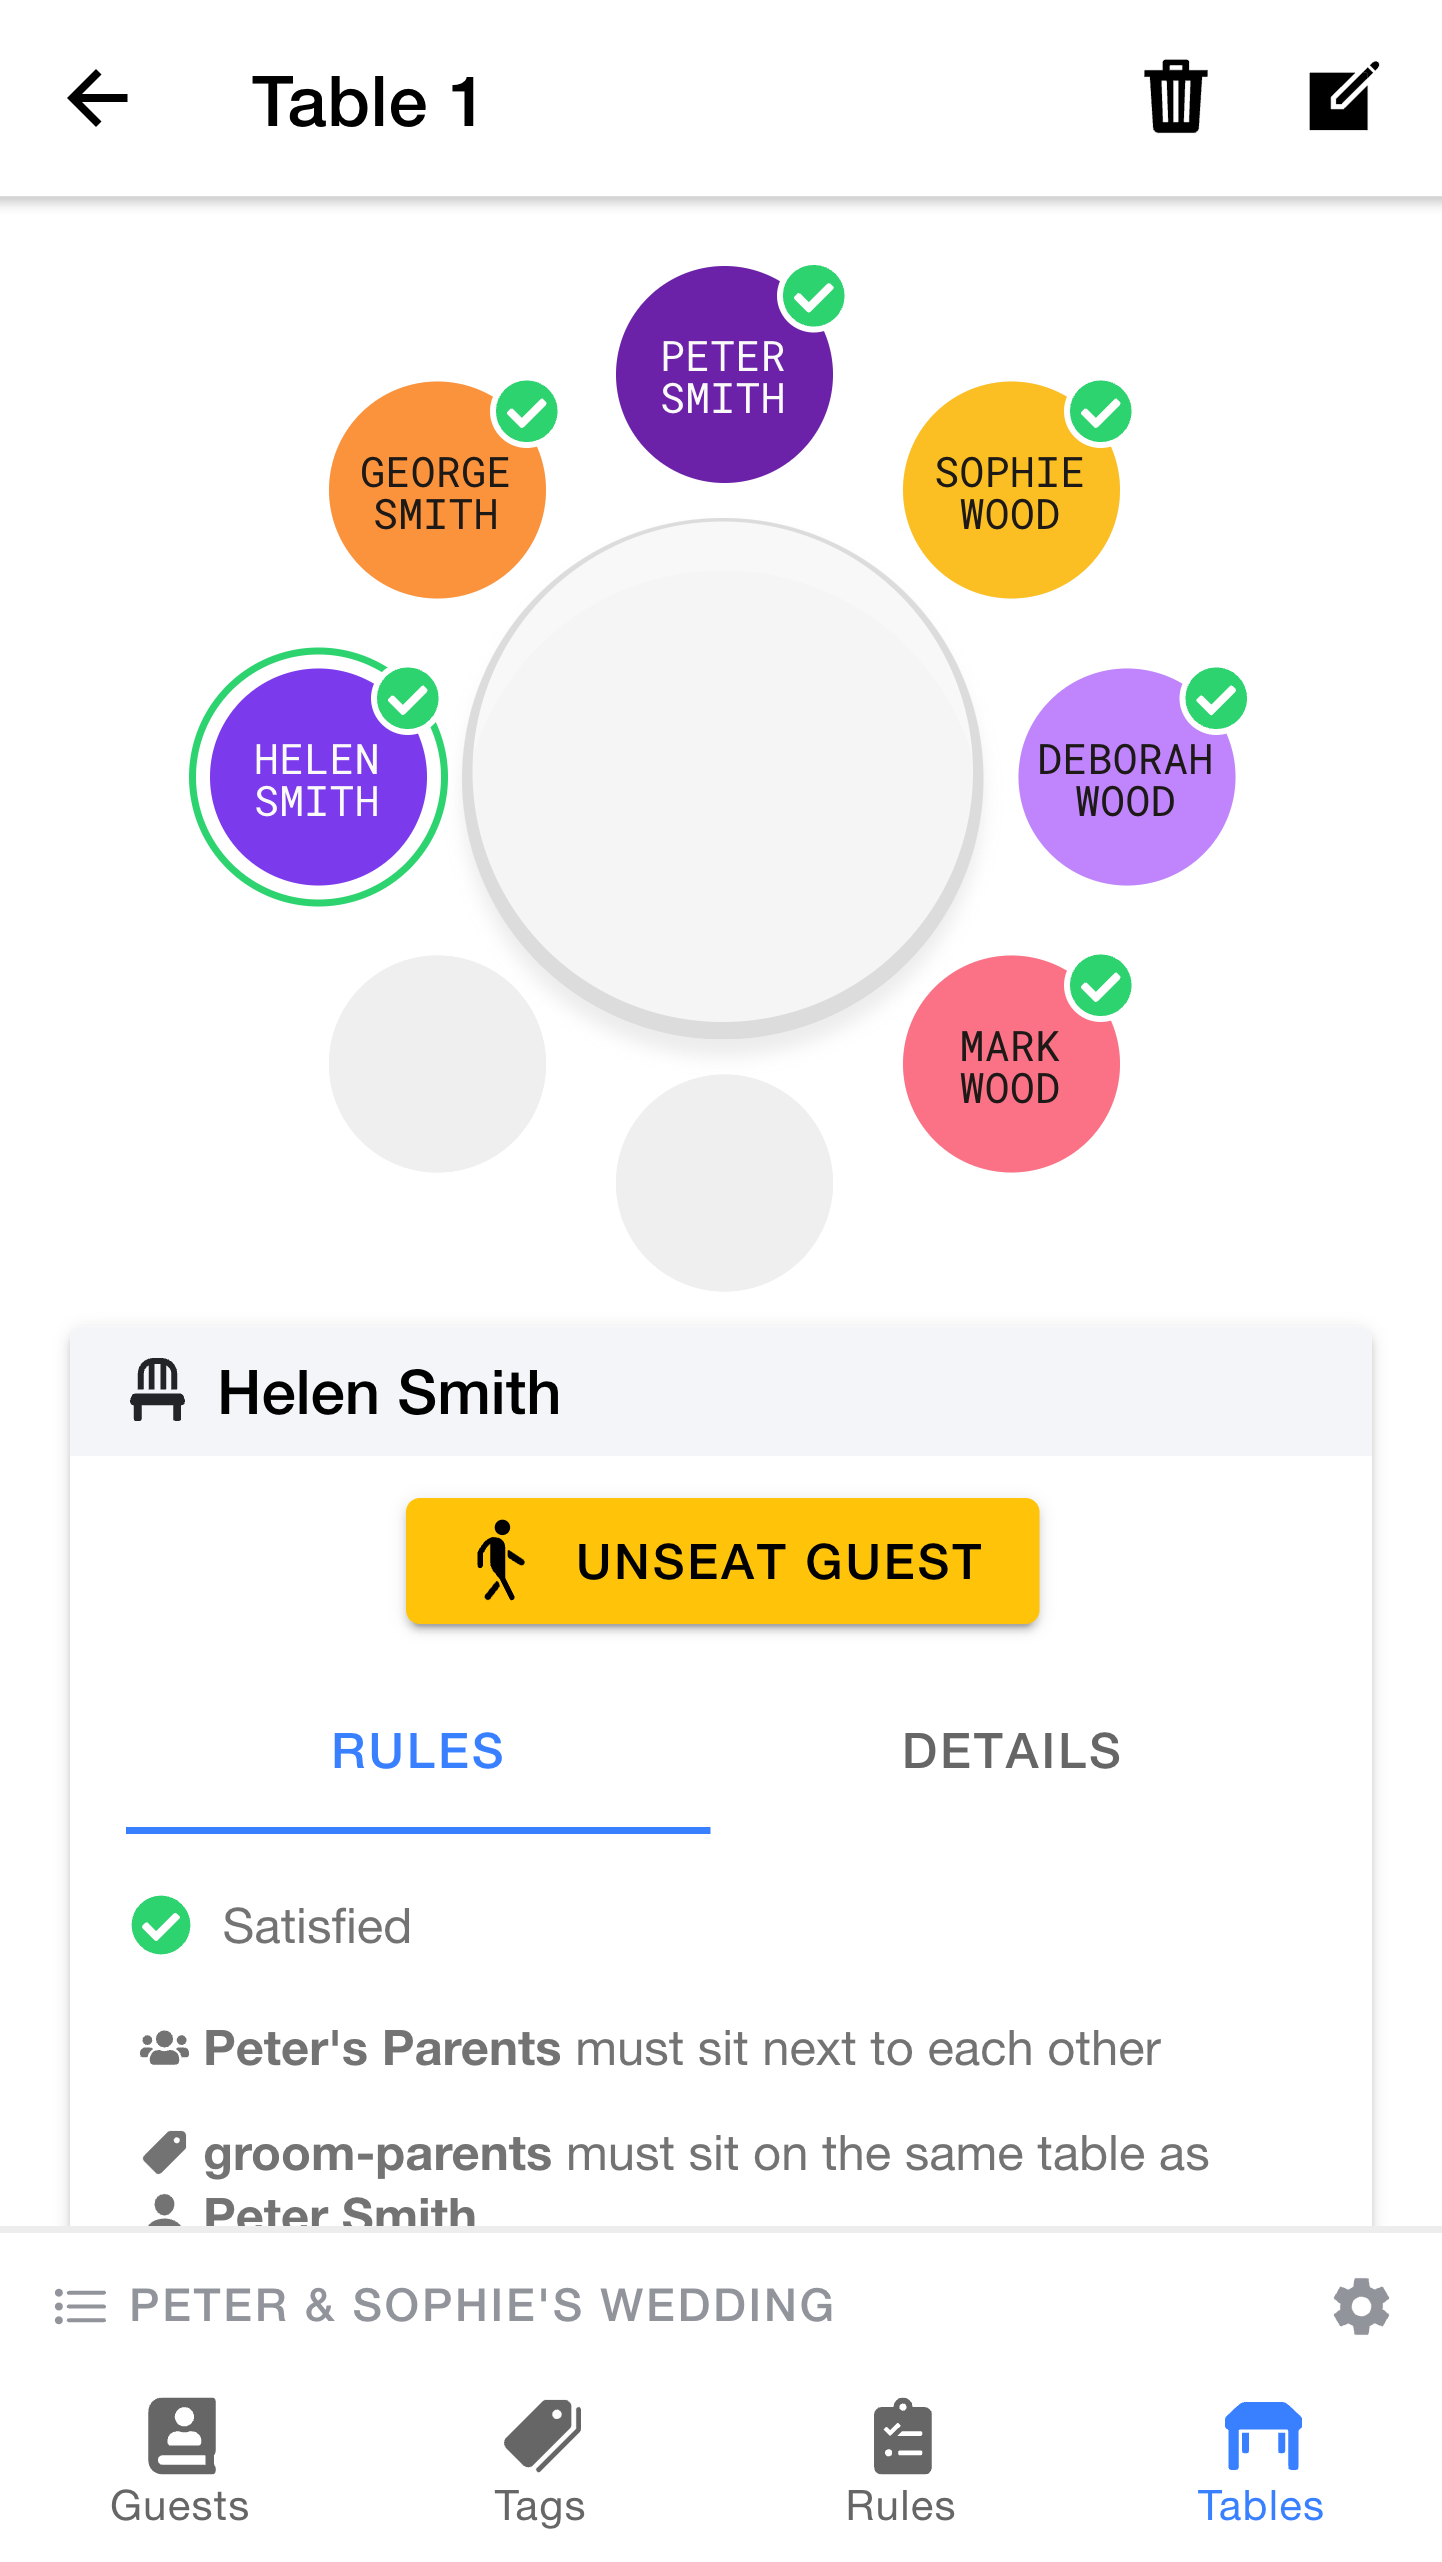
The section below the diagram shows details of that seat:
- If the seat is empty, you'll see a button to
Seat Guests - If the seat is occupied, you'll see details of the guest, together with an
Unseat Guest button
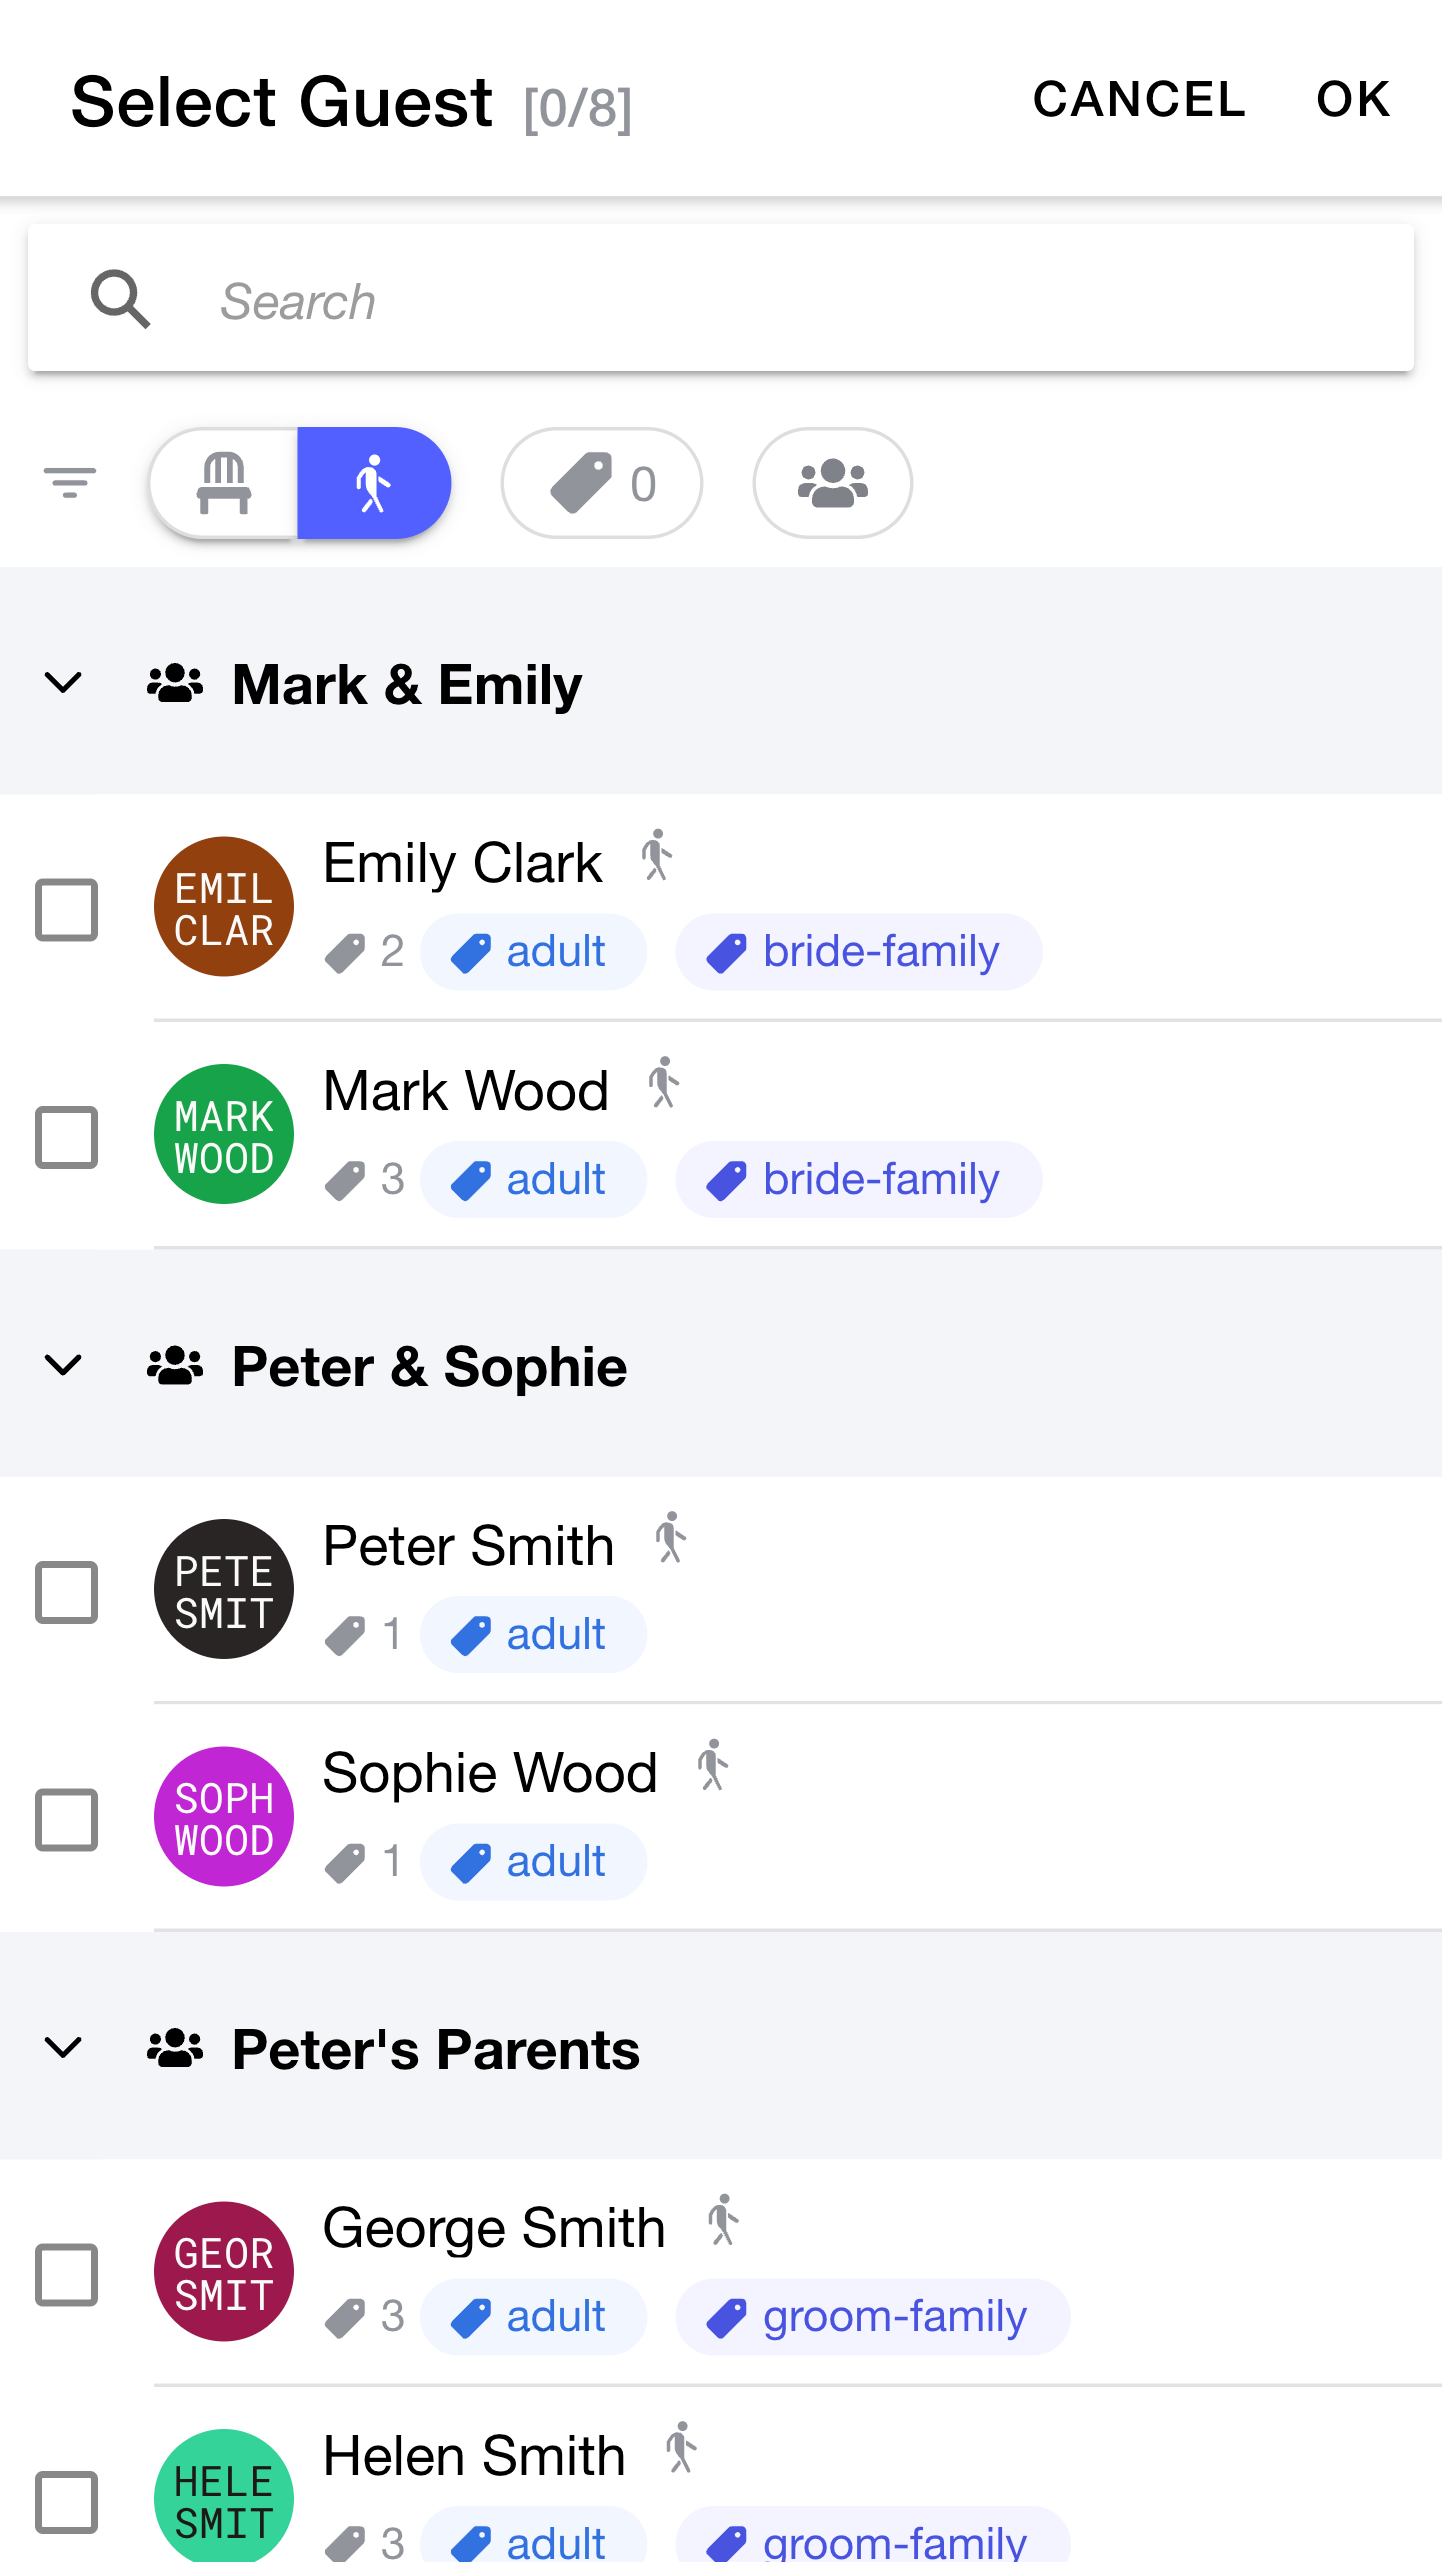
This is probably a good time to learn a little more about the searching & filtering features that are available whenever you are viewing or picking guests.
At the top, there is a
Below the search, there are a set of
- Seated/Unseated: these buttons allow you to filter the list based on whether they are seated or unseated (in the current plan). This is a handy way to find people who still need a seat.
- Tags: pressing this allows you to select one or more
tags . The list will be filtered ot only show guests who have all of the selected tags. - Group: pressing this allows you to limit the list to guests who belong to a particular
group .
These filters allow you to quickly find the guest (or guests) that you need. They can be combined together to perform more powerful searches.

Hooray! You've seated your first two guests.
Because we selected more than one guest at once, they have been placed into the next two available seats (moving around clockwise).
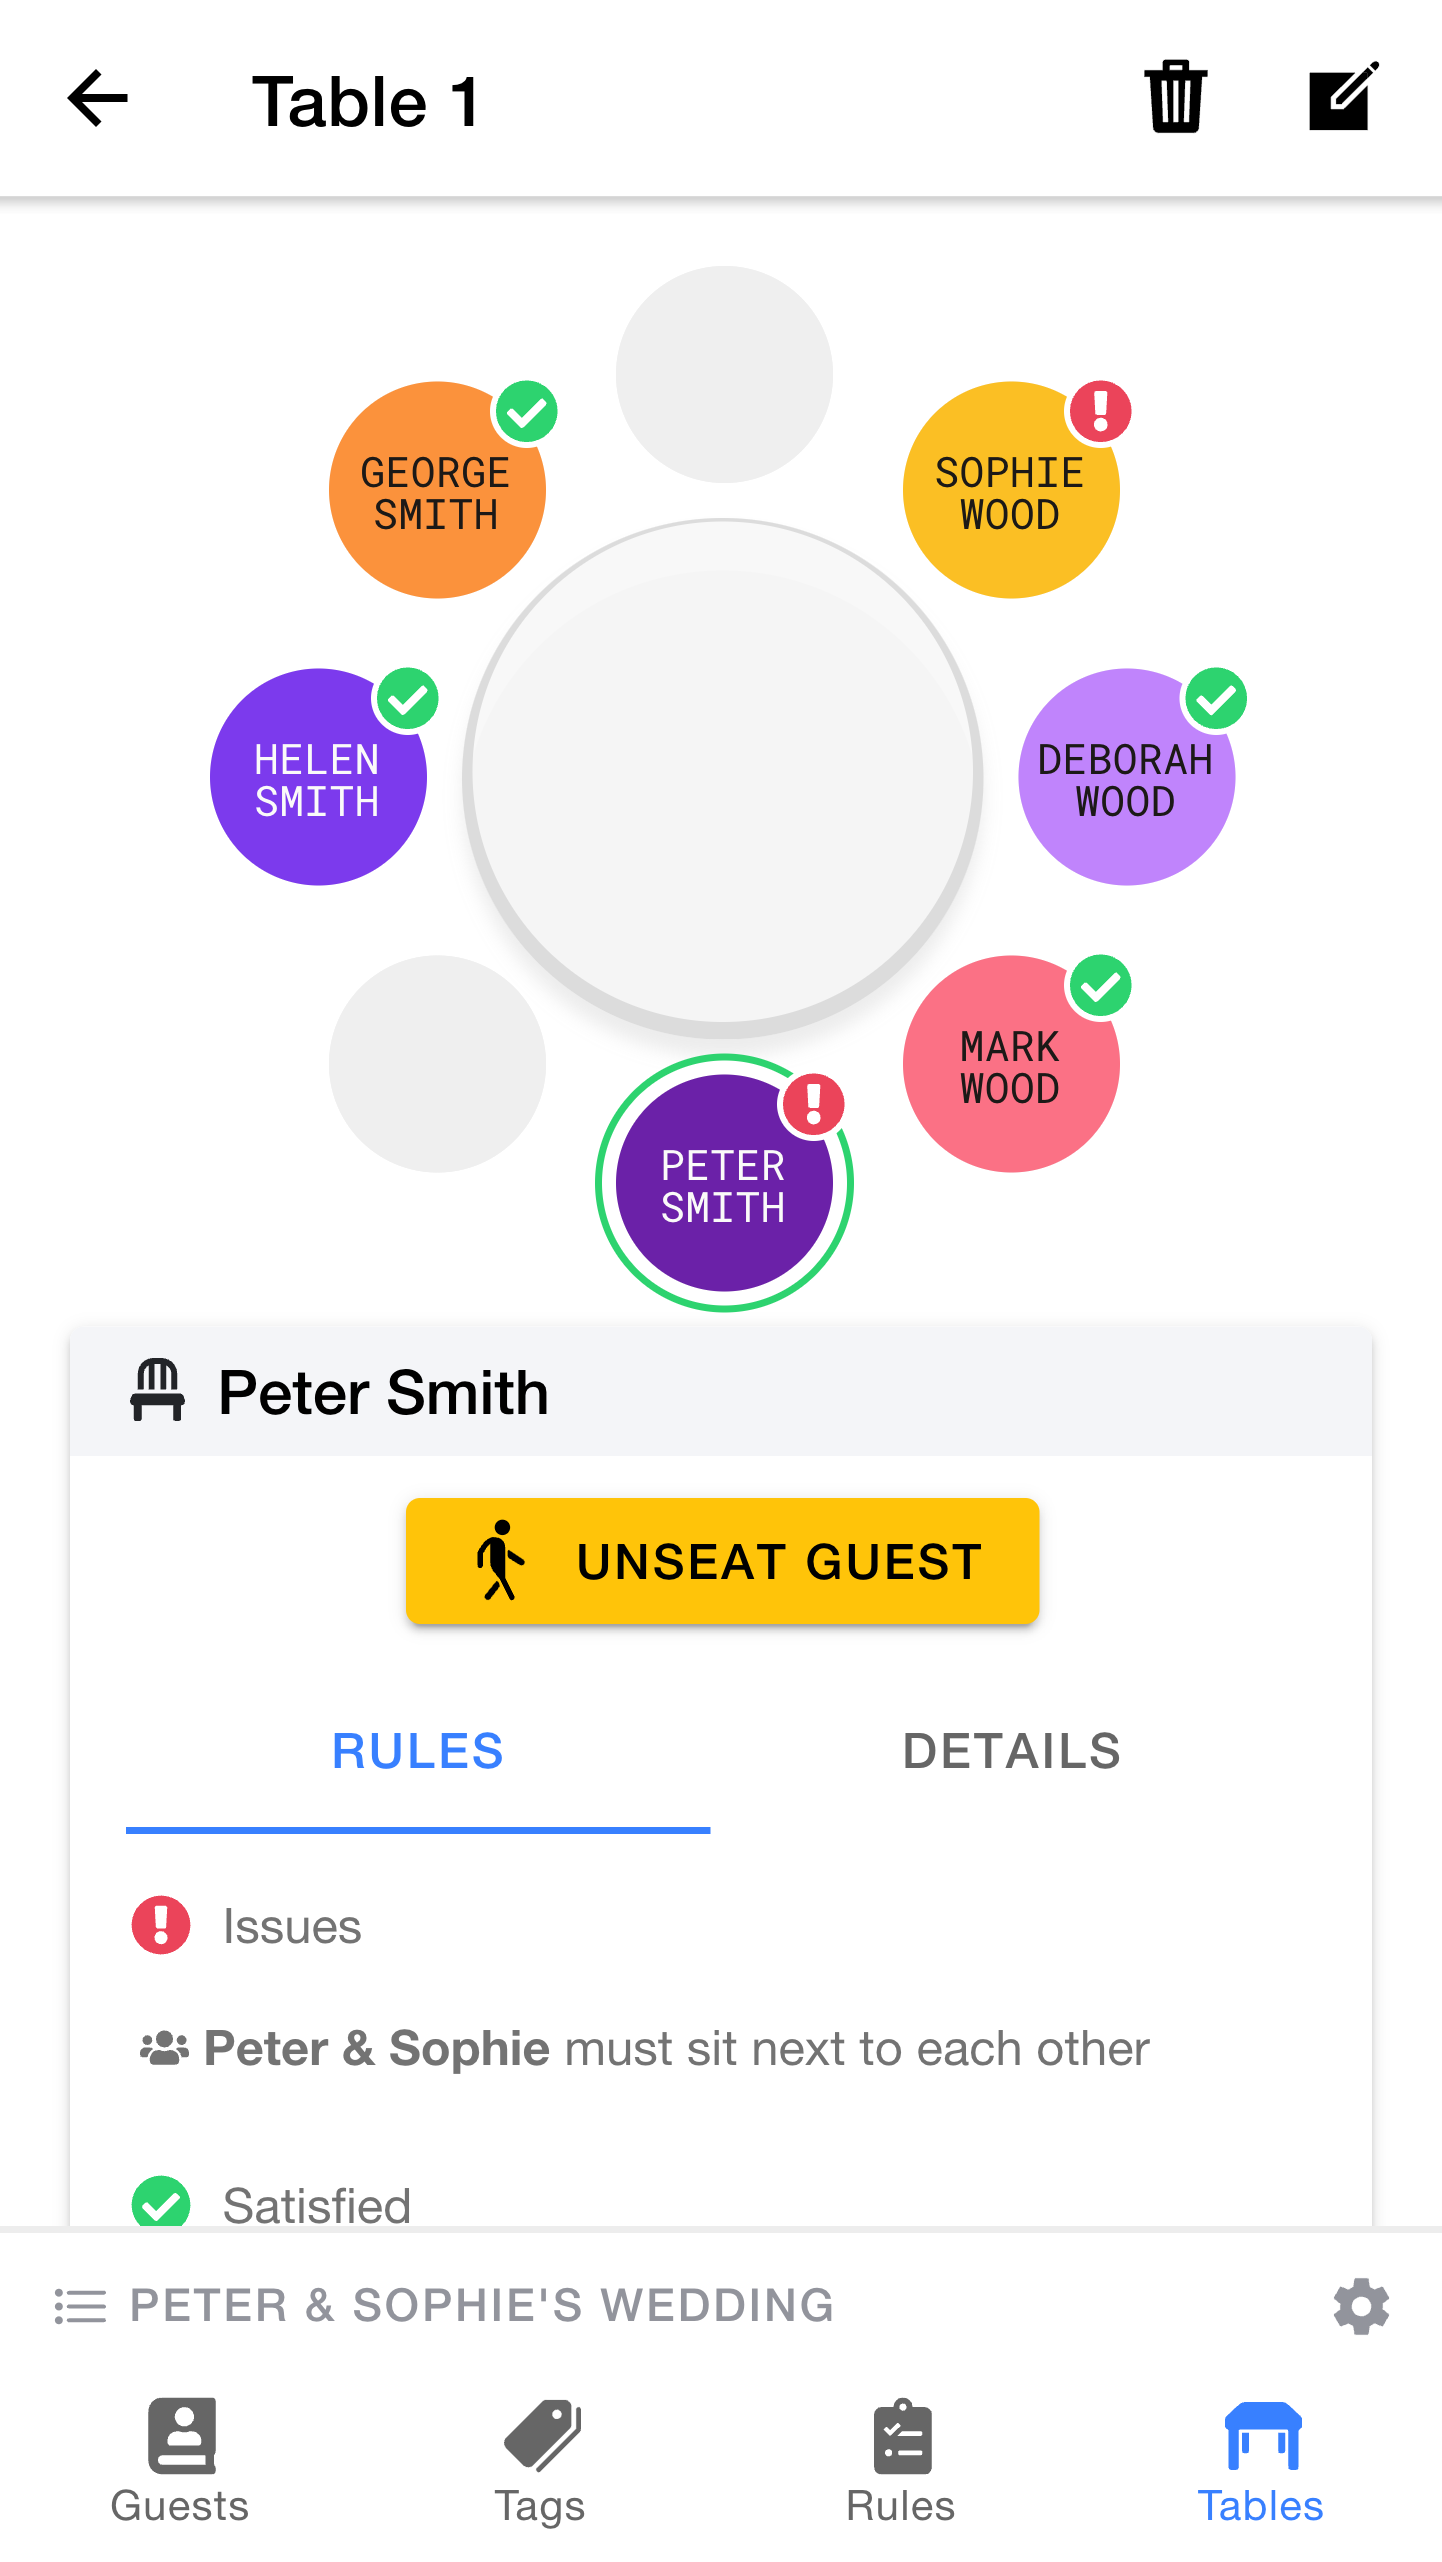
You may notice that
These badges show us that there are problems (rules that have not been satisfied) and in this case, both of our guests may be unhappy with their seats.
Below the diagram is a list showing each of the selected guest's rules, grouped by their status. As you can see, Peter will not be happy with the current arrangement, because he is not sat on the same table as his parents.
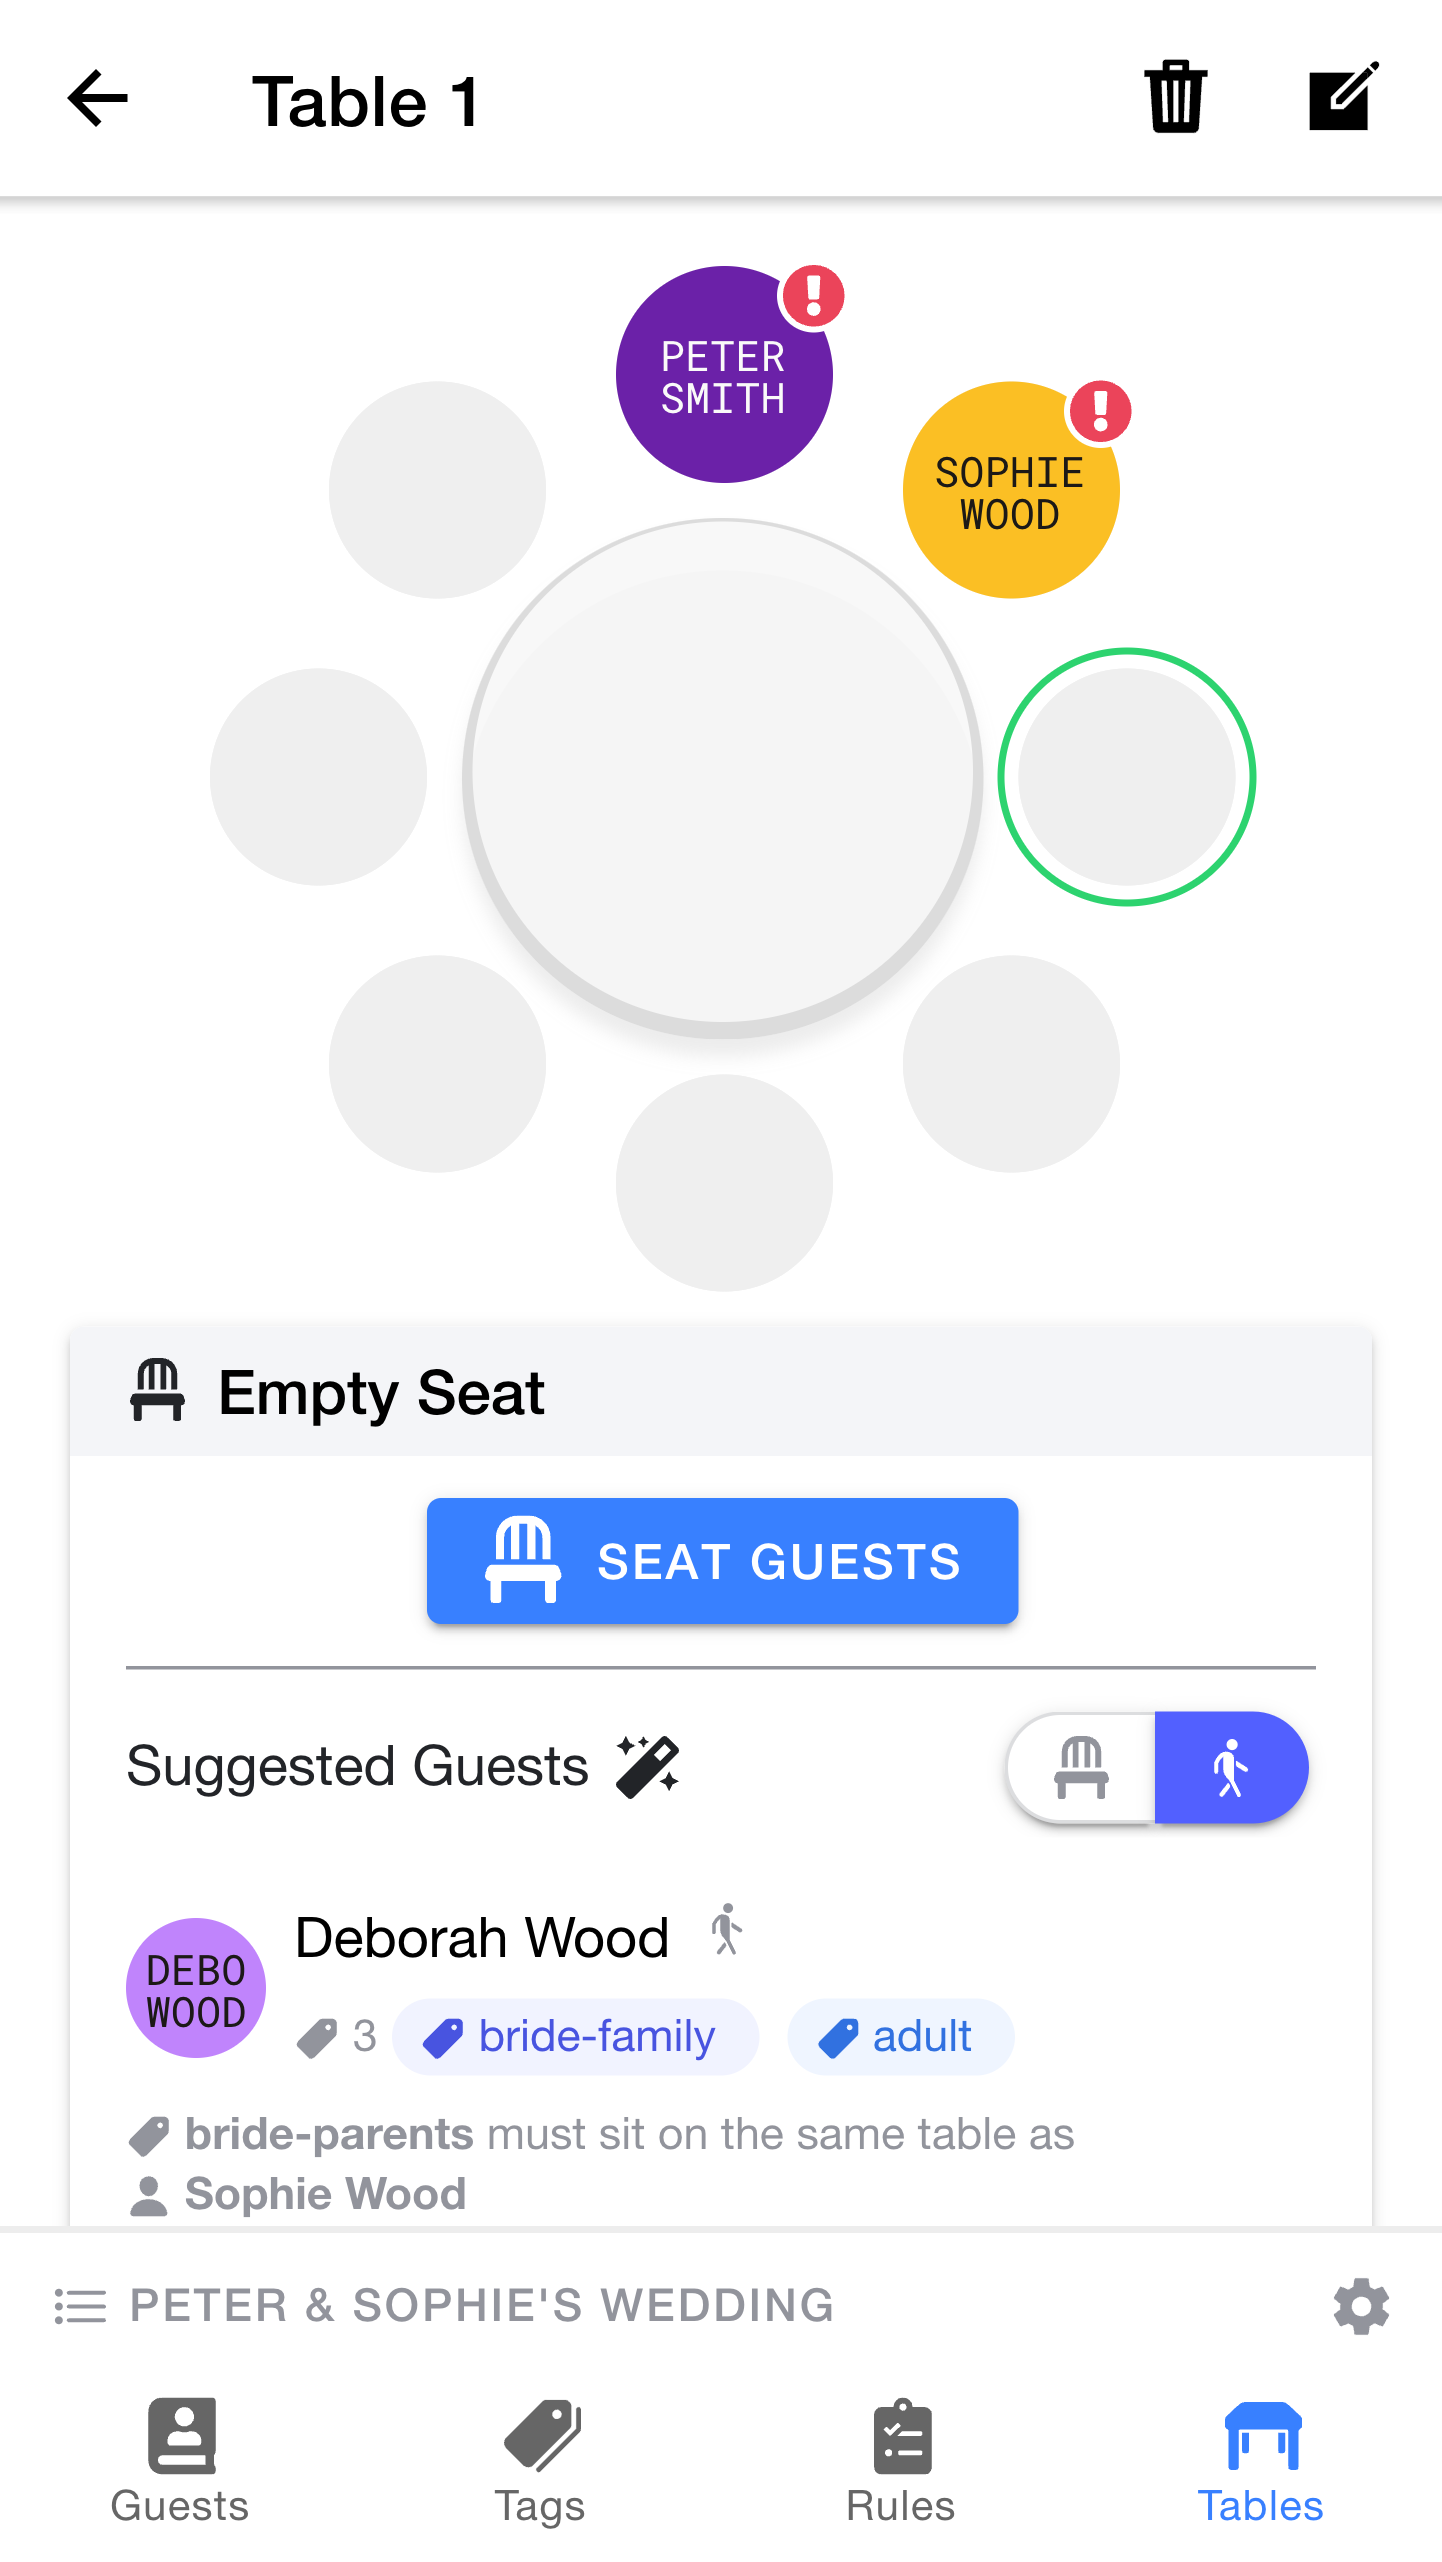
Let's start to address the problems by sitting Sophie's mother next to Sophie.
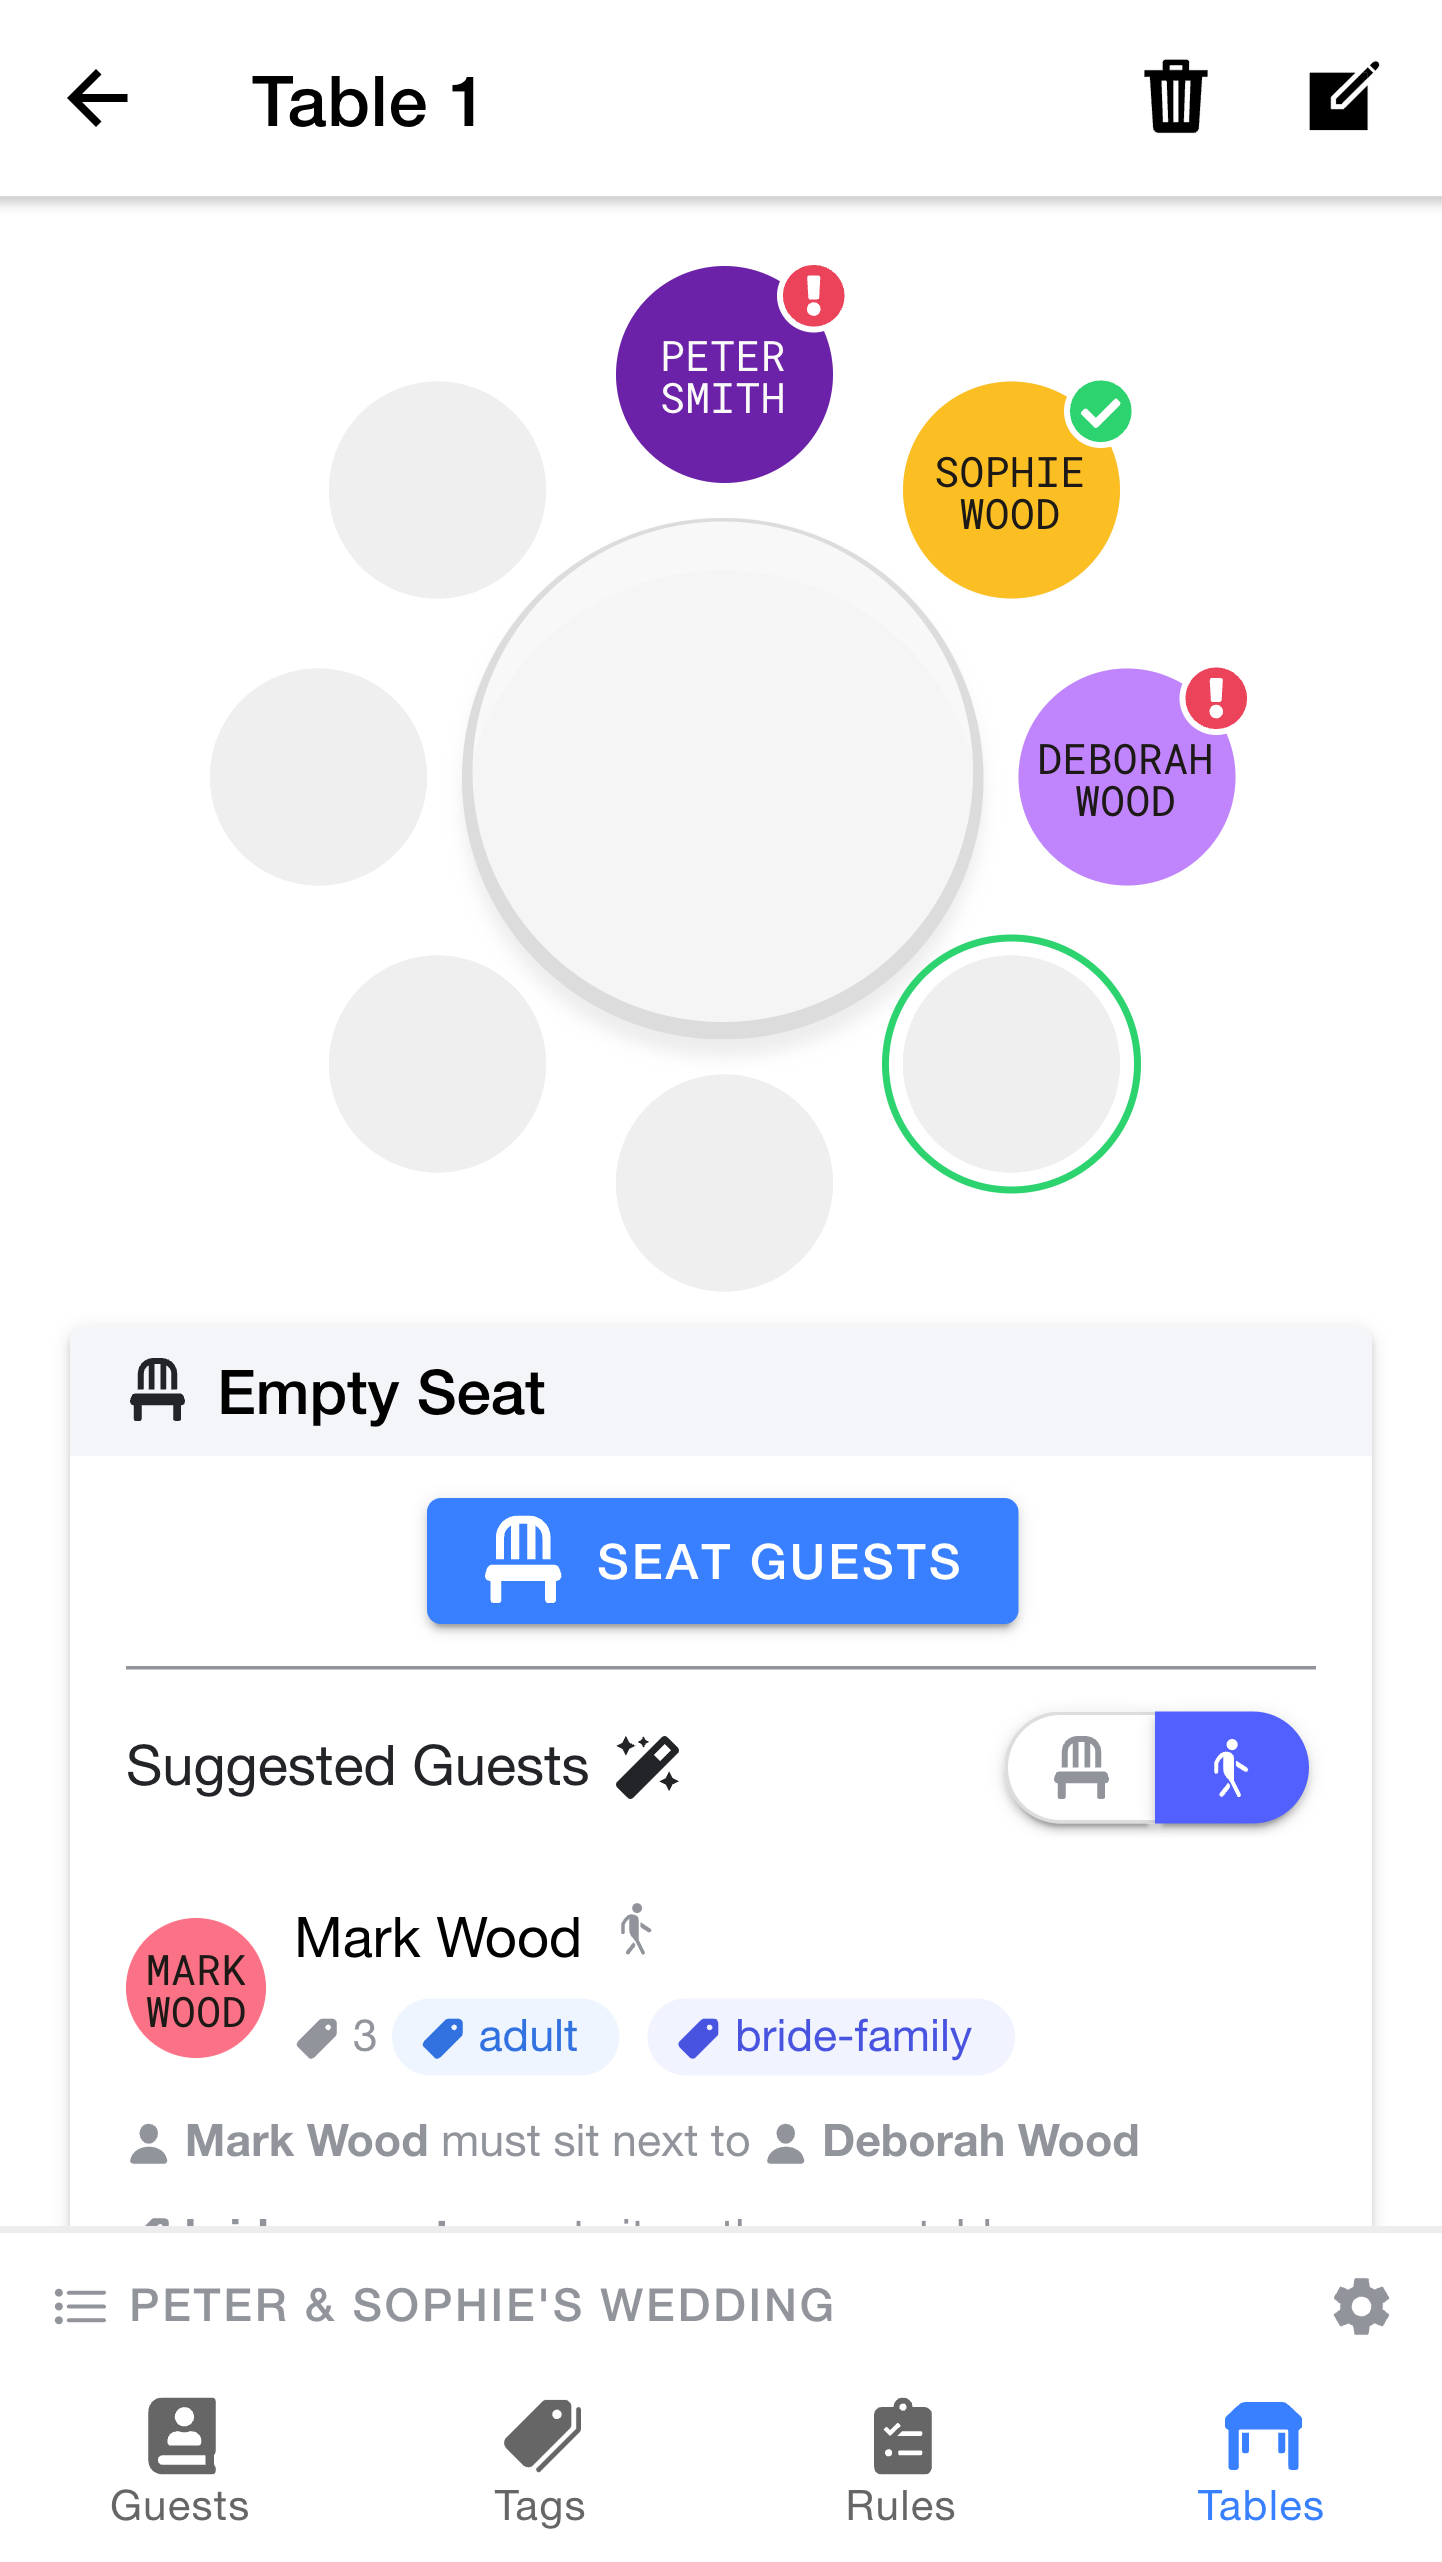
This is a great time to take a look at one of Table Tailor's most powerful features - automatic seating suggestions.
In addition to the
Table Tailor uses the rules you have defined to automatically suggest the best guest for the selected seat. In this case, we can see that Deborah Wood has been suggested as a great choice for this particular seat.
Notice that
As we can see,
Let's fix that.
Happily, the suggestion feature has identified that
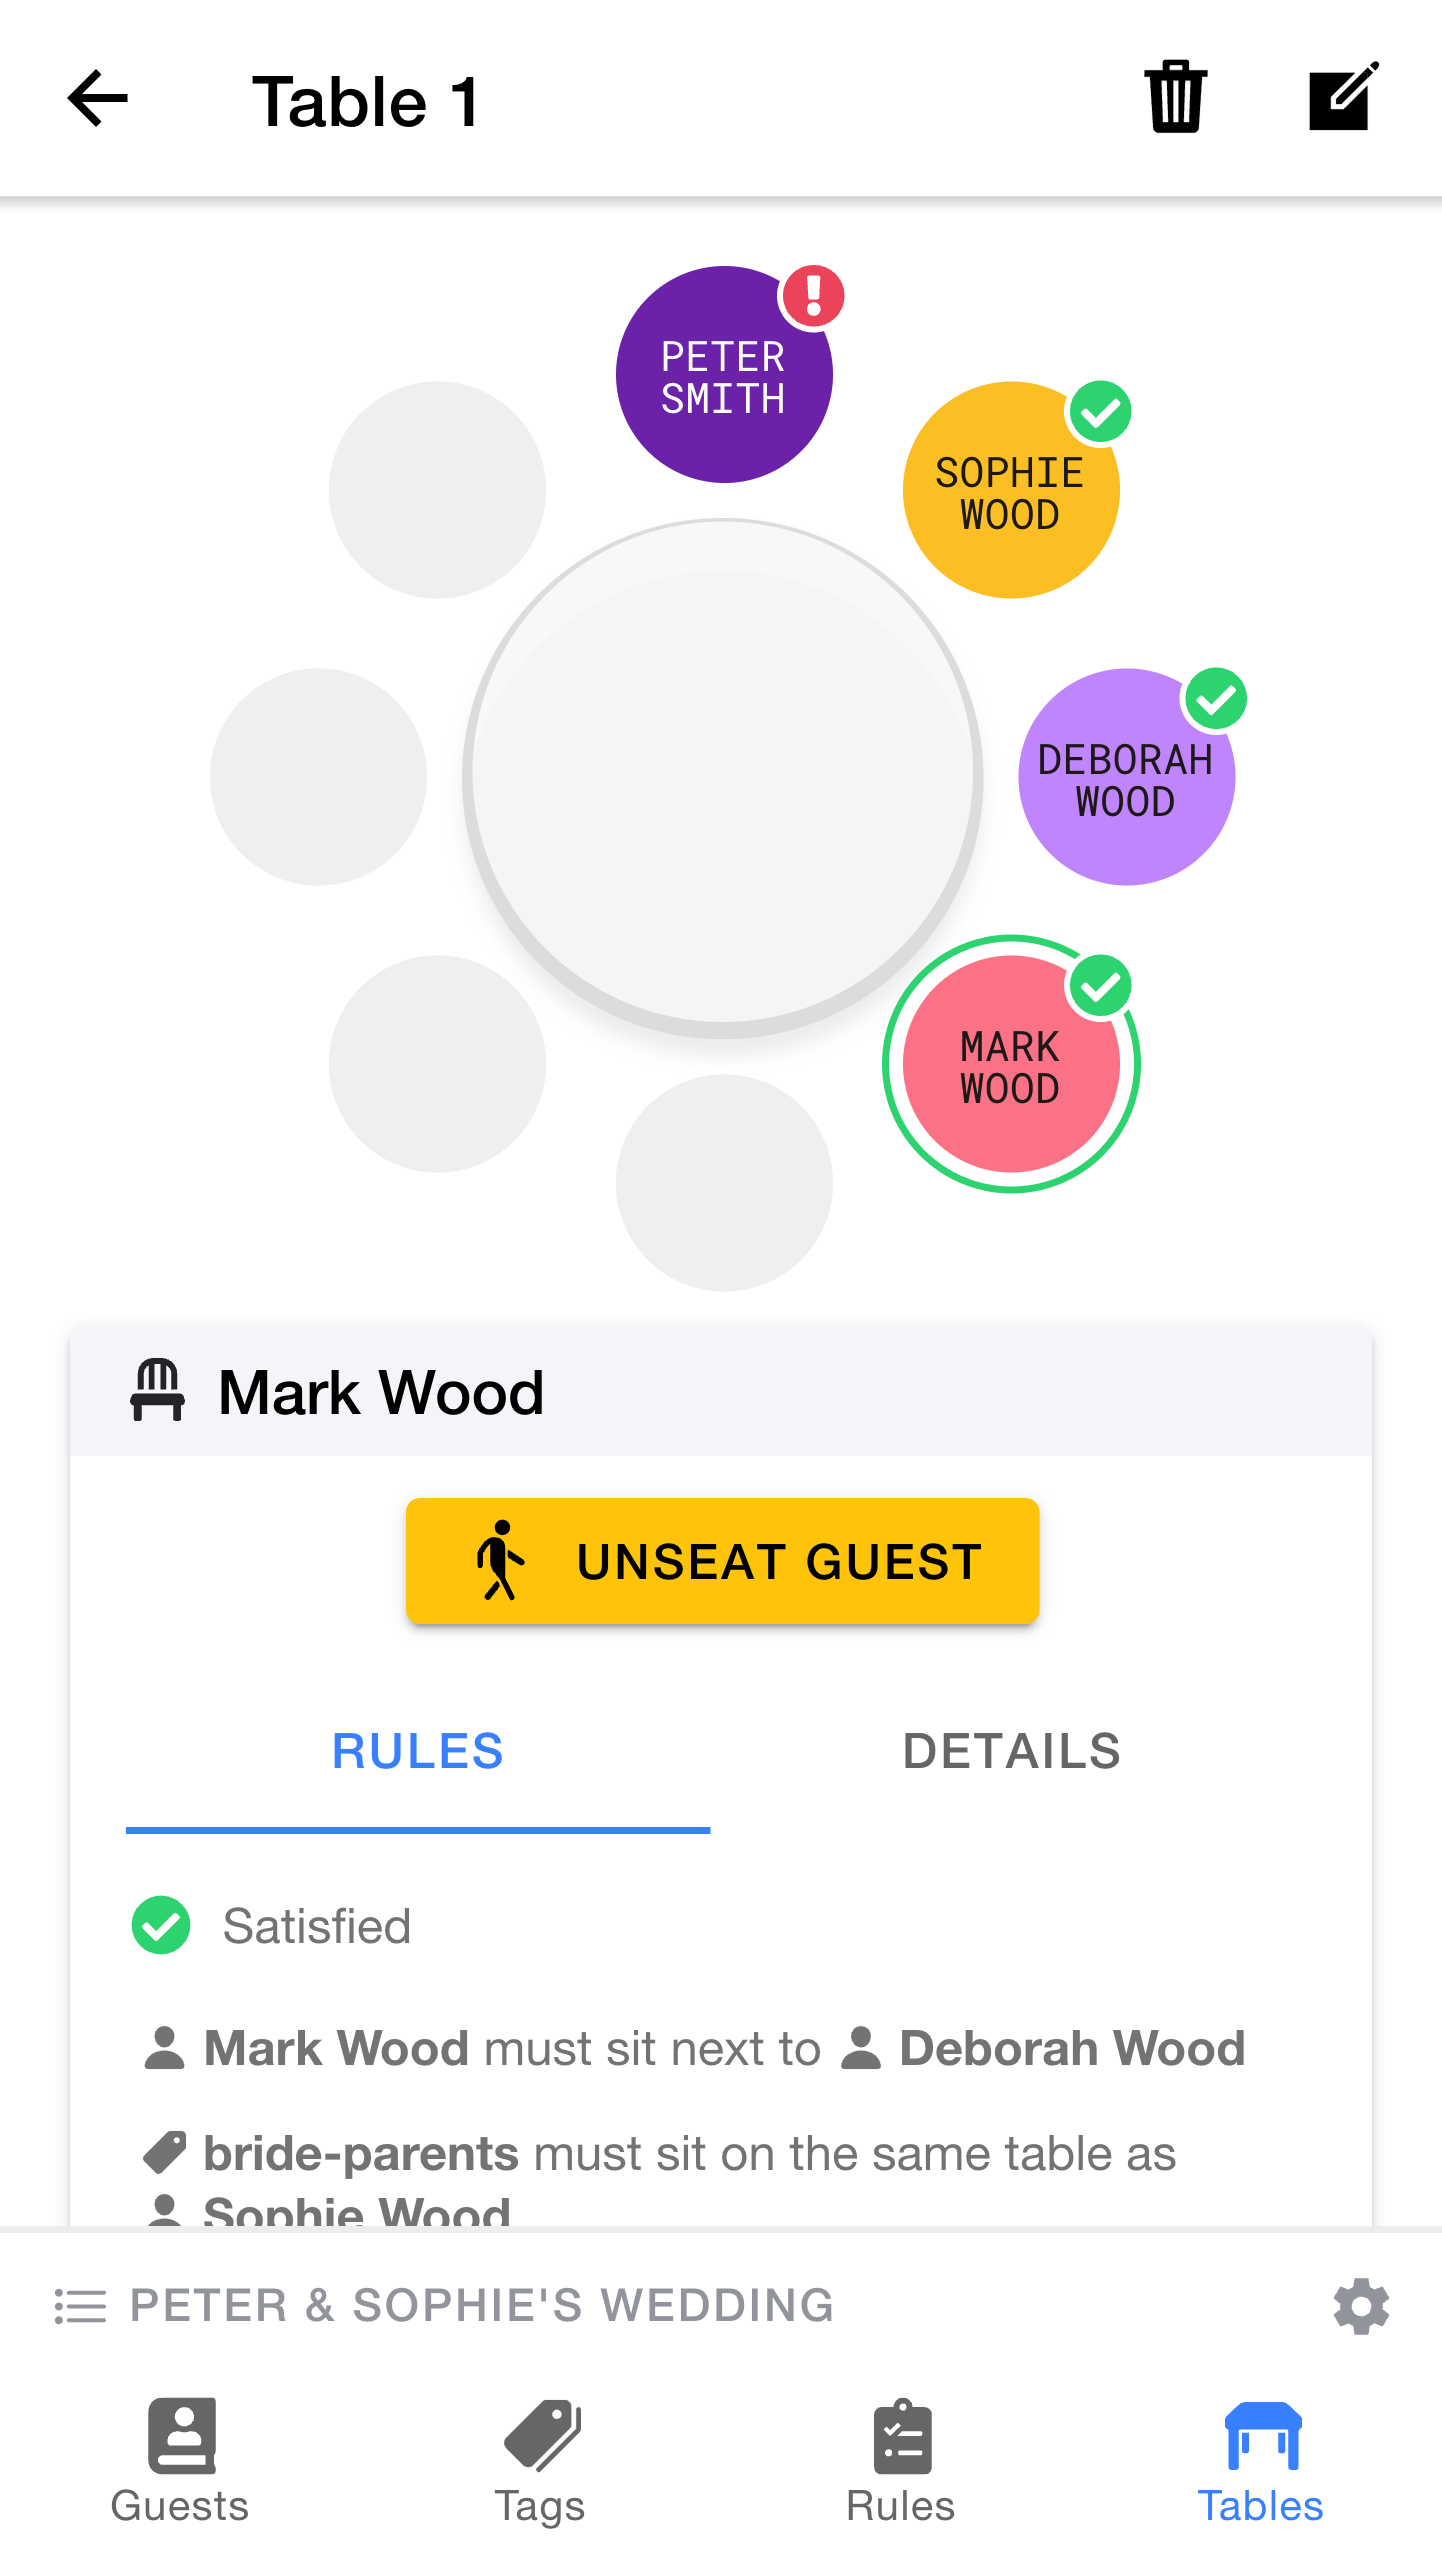
Loooking good, now Sophie's side of the family are all happy.
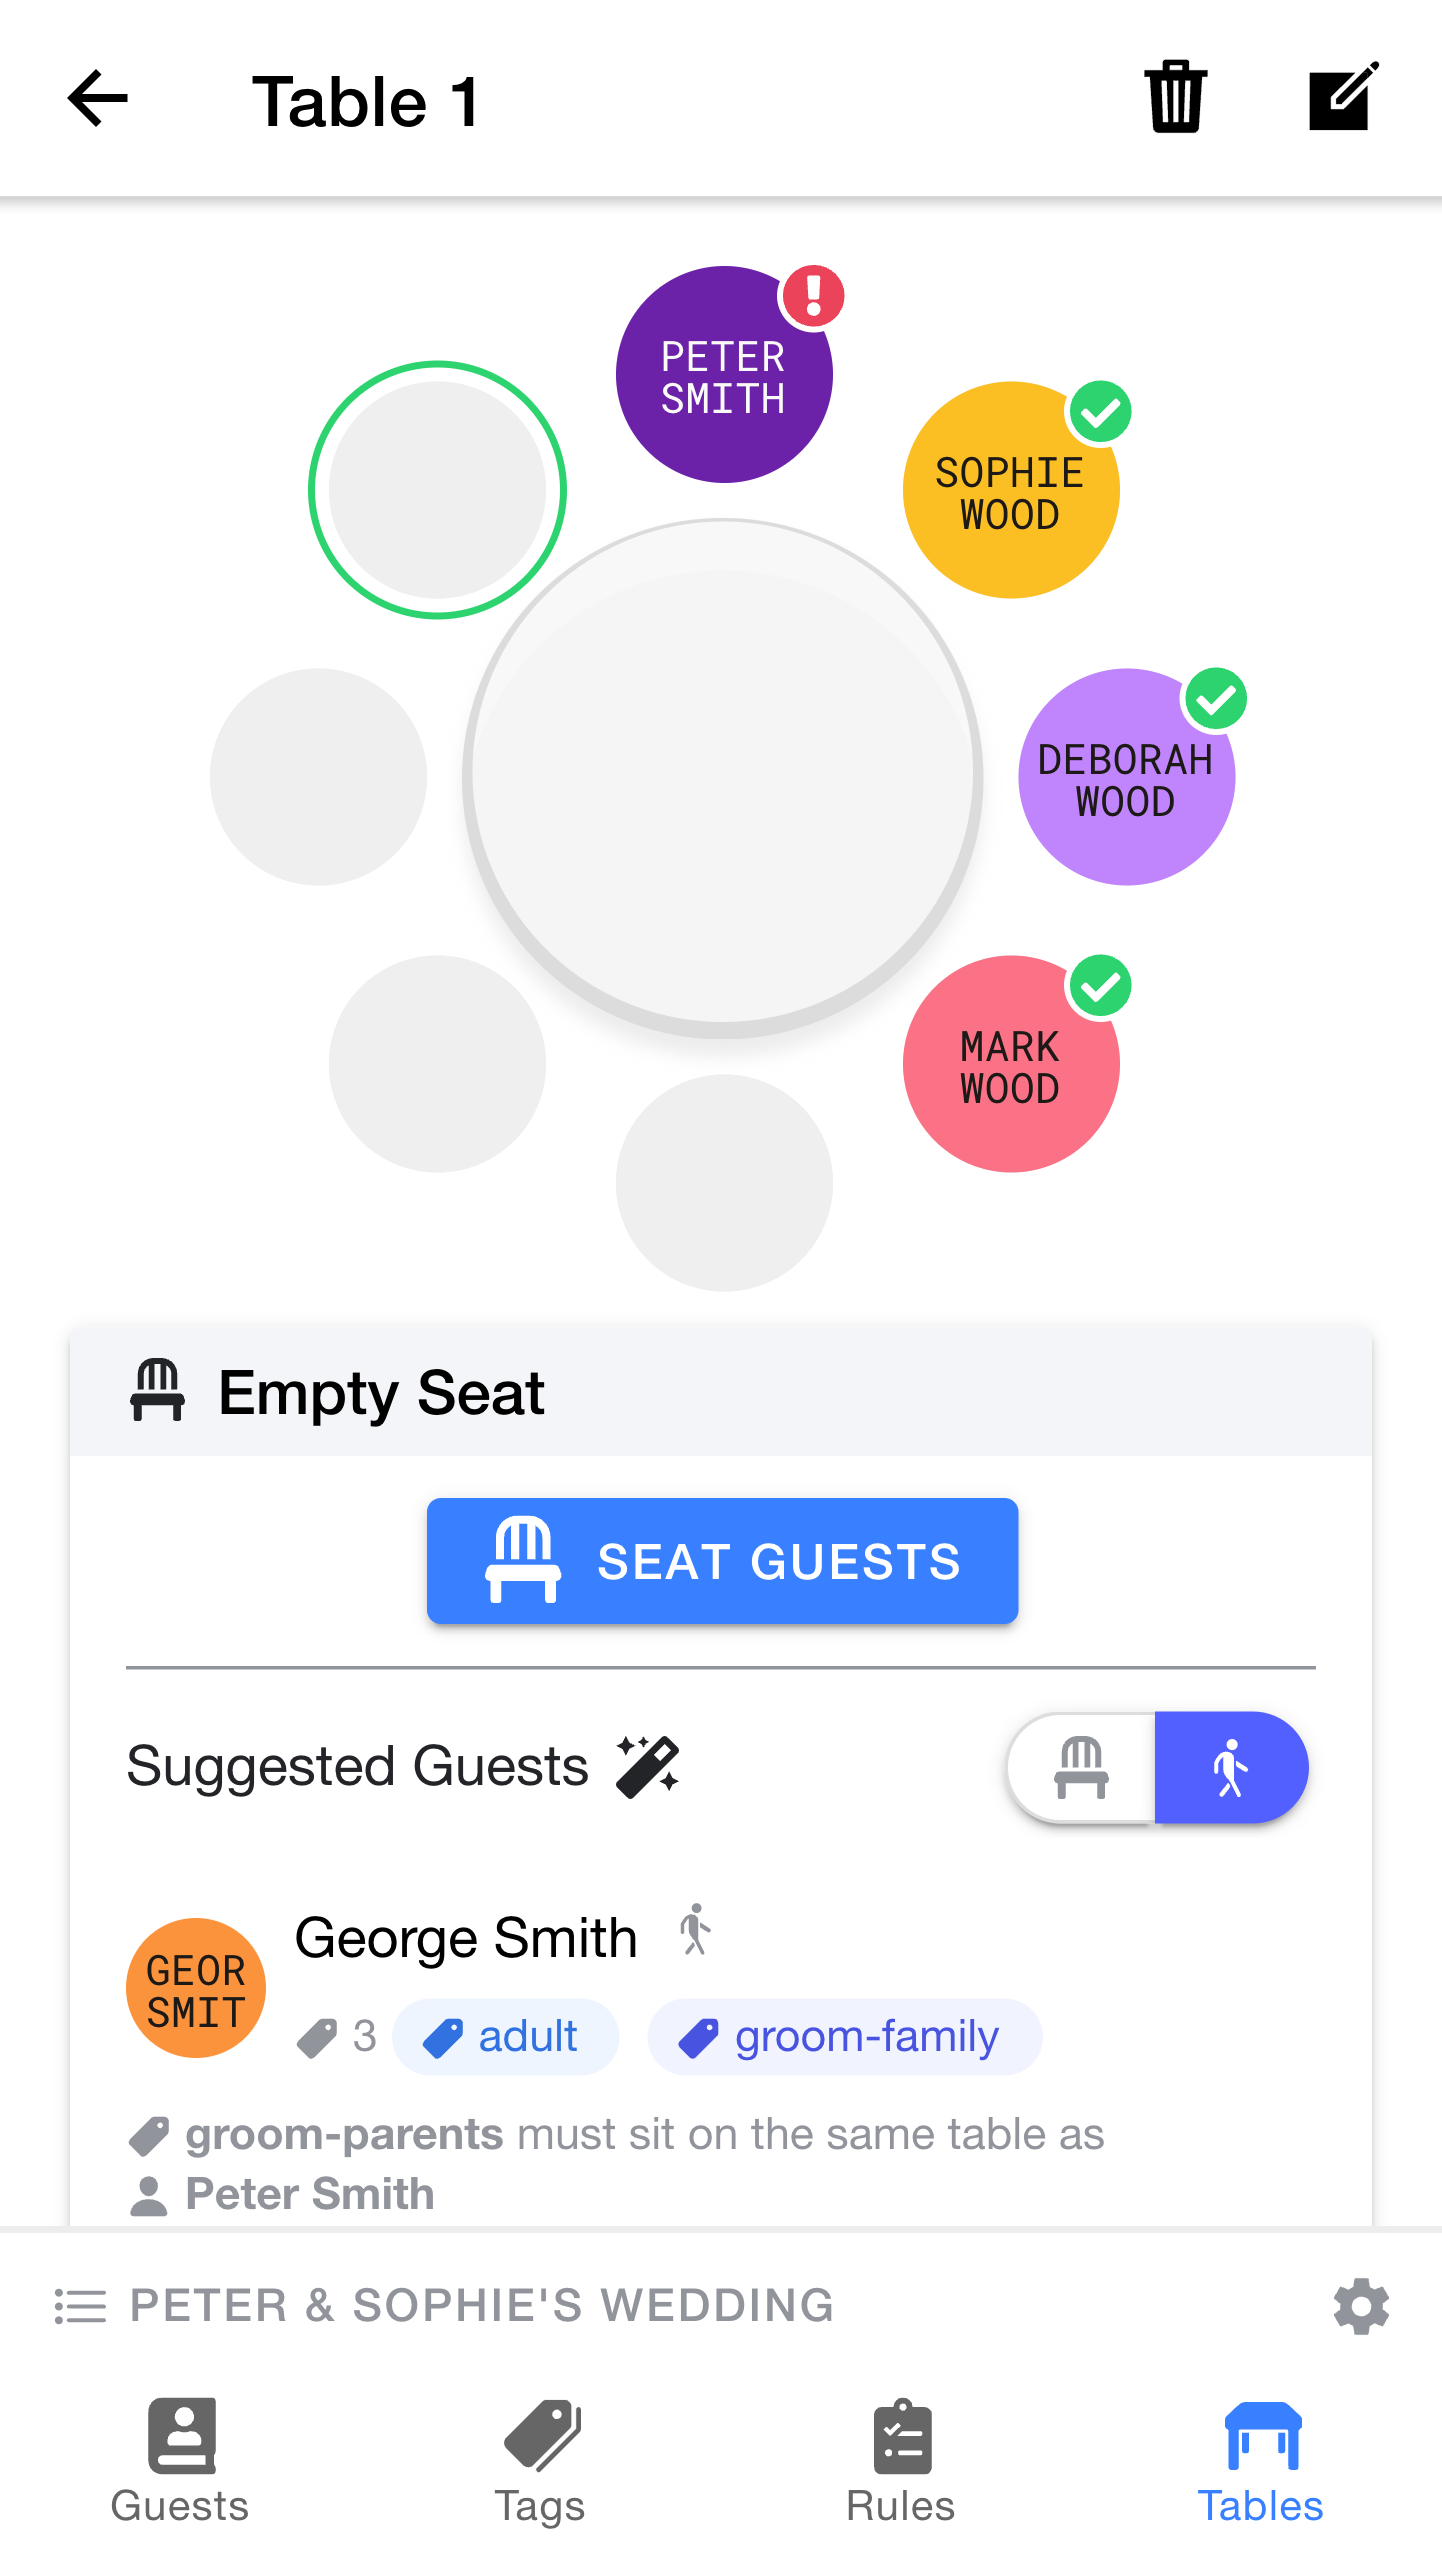
Next, let's follow the same steps to sit Peter's parents next to Peter.
Success! Everyone looks happy.
Hopefully now you have a good understanding of how to place your guests into their seats.
Note: So far, we've saved time by choosing the guests that were suggested automatically. Suggestions won't always be available, but remember you can always press the
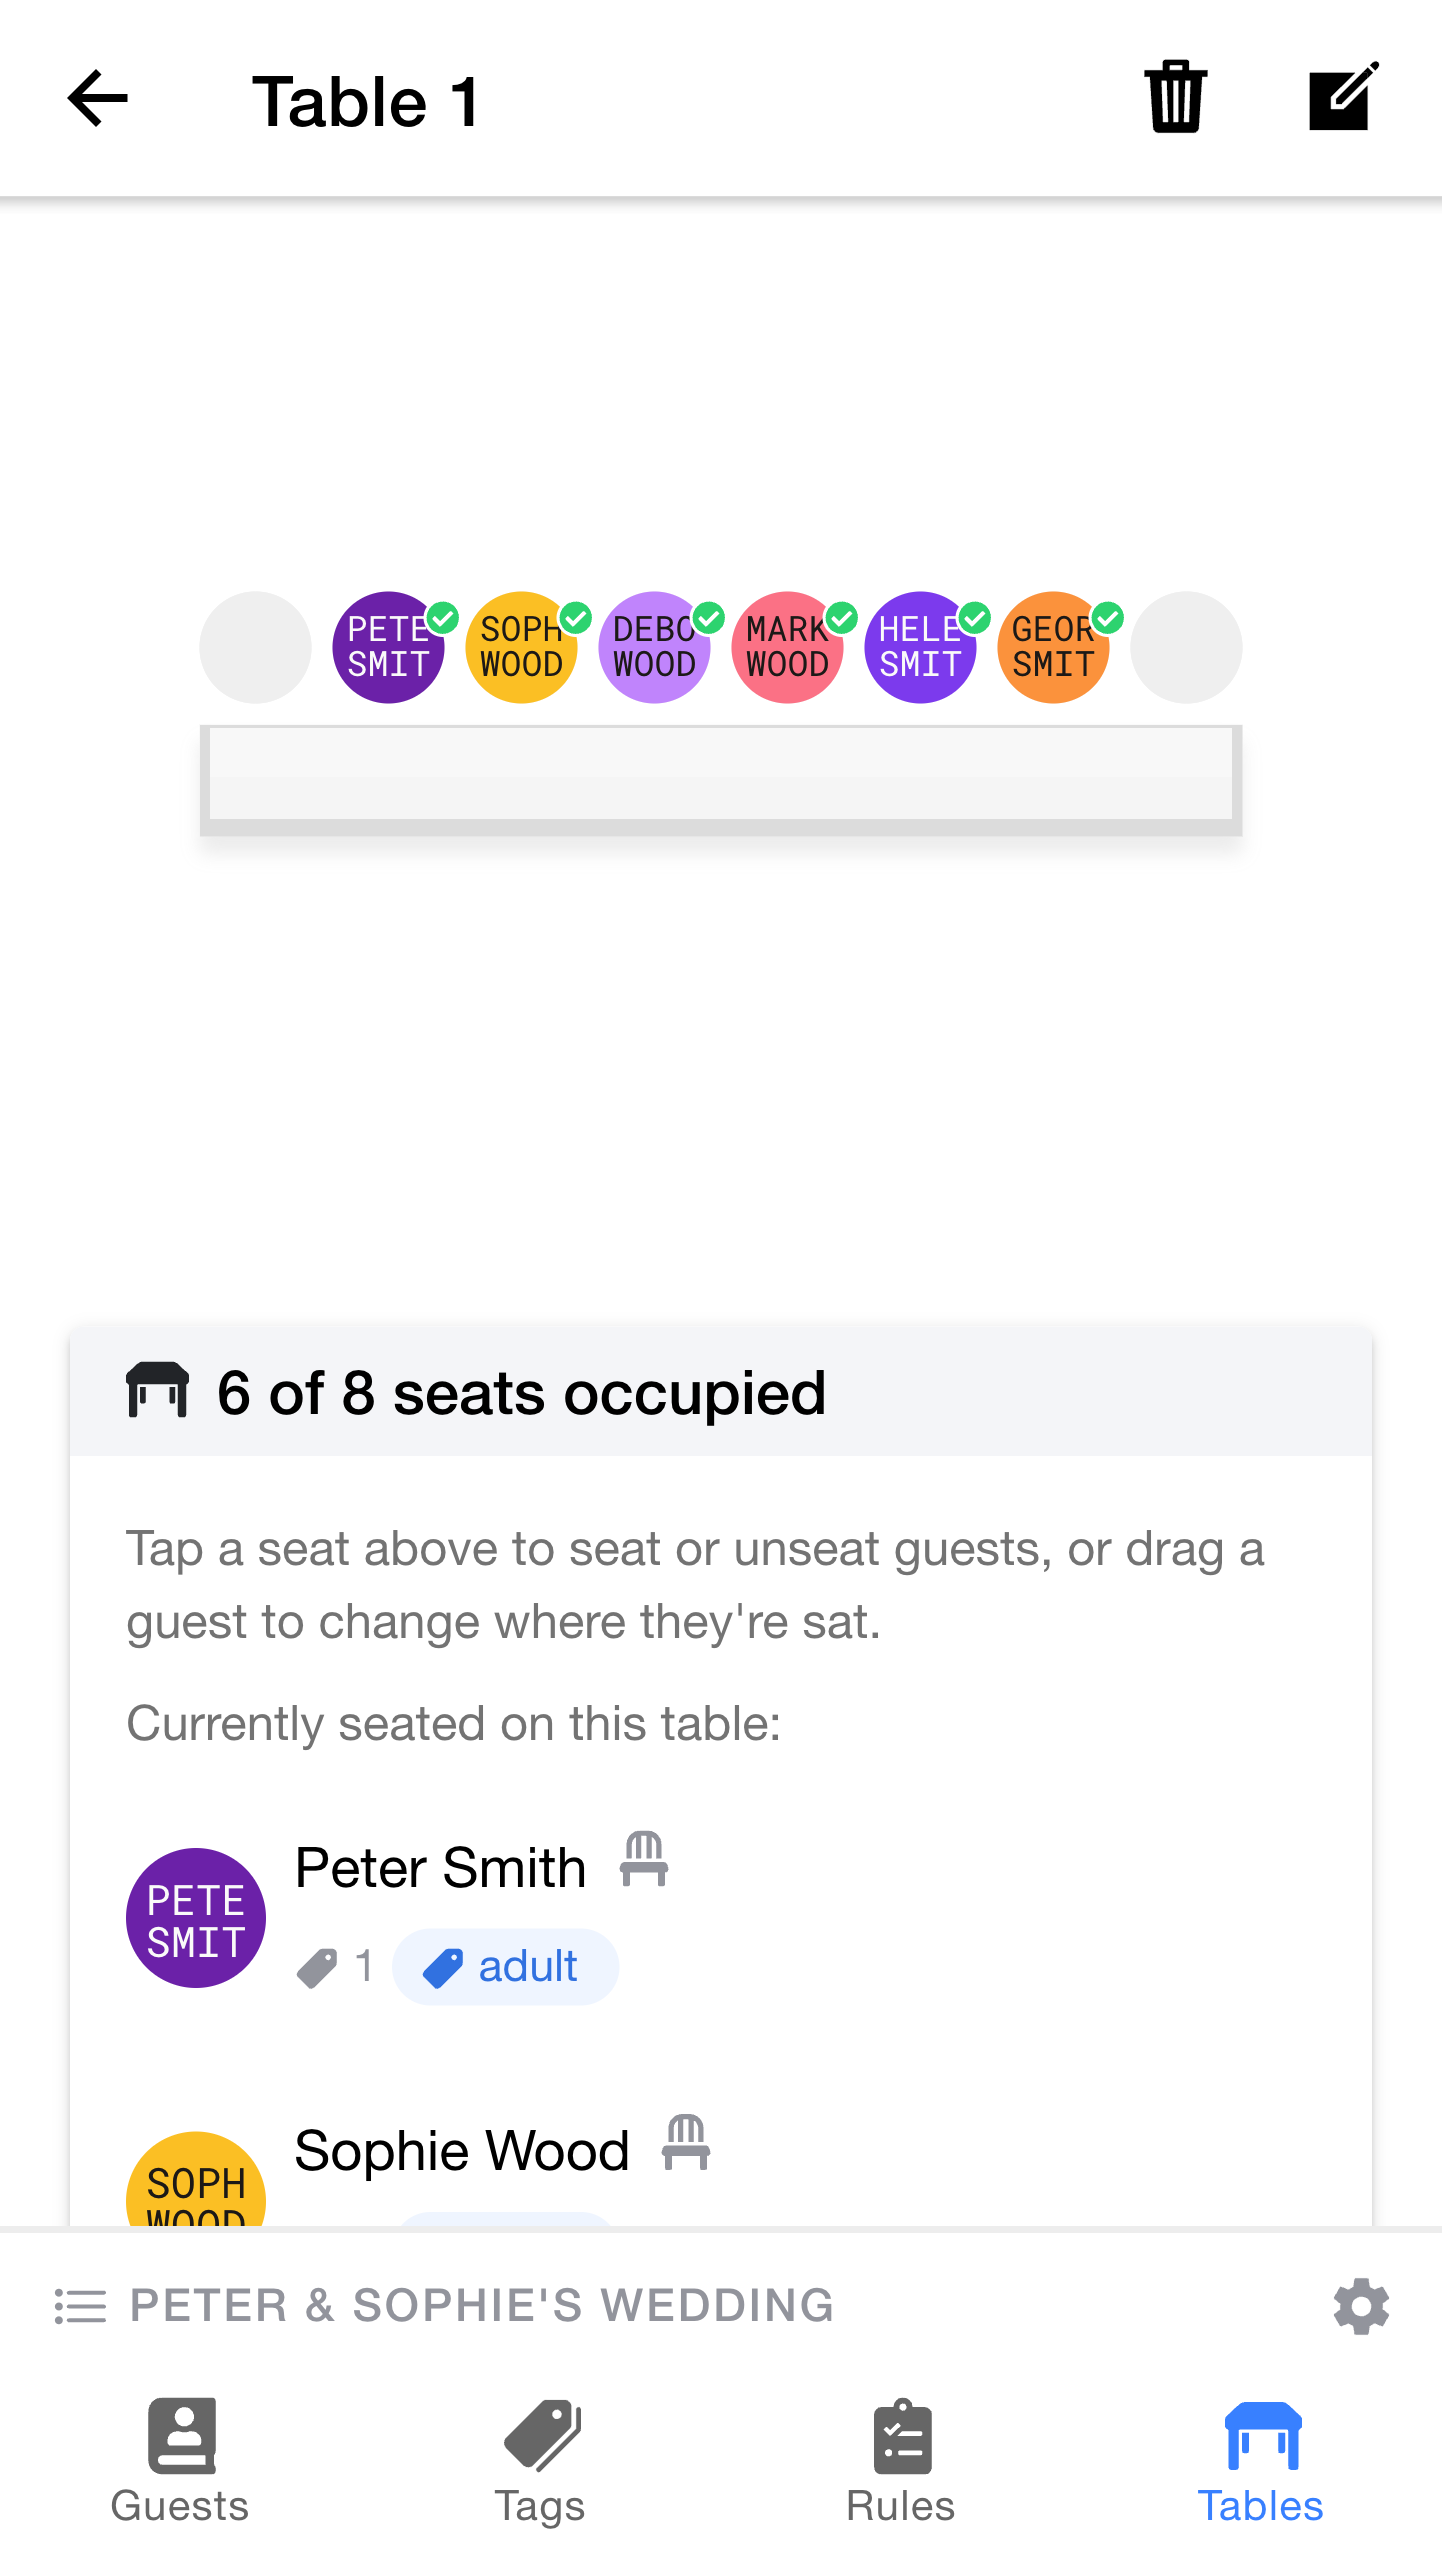
Before we move on, it's important to know how to move guests around between different seats.
To do this, simply drag the avatar for any of the guests with your finger from one seat to another.
Before we continue, here are some extra things to know about seating:
- Dragging a guest onto an unoccupied seat will move them to that seat
- Dragging a guest onto an already occupied seat will swap the guests in those two seats
- You can remove a guest from a seat by selecting the seat and pressing
Unseat Guest - By default, the guest picker will only show unseated guests, reducing the pool of selectable guests as you progress.
- If needed, you can change the filters in the guest picker to include seated guests too. Selecting a guest that is already seated will "poach" them, and move them to the new position (even if they were on a different table before).
So far, we've been working with a circular table. Table Tailor also supports rectangular tables, which might be a better choice for the top table.
For rectangular tables, there are four separate controls that you can use to choose how many seats there are on each of the four sides.